So glad you could stop by! For those wondering what this site is all about, I’d like to introduce myself! My name is Jennifer Allen. I am first and foremost a busy mother of 6. But, as do many of us, I fill my spare hours with much more… I am a graphic designer, a symphonic violist and an active health and wellness advocate. Both my husband and I are entrepreneurs and manage our own businesses amidst the chaotic lives of our busy brood! This site is somewhat of a celebration of natural health, craziness, craftiness, resourcefulness, comedy, a little insanity and hopefully, occasional insights into living a healthier life! MyCrazy8 was born from my daily efforts to wrestle with my crazy and amazing family of 8 (yes, I include my husband and I in that!), with kids (excluding my husband and I!) ranging in ages from 15 down to newborn. There is so much I’ve learned and so much I’m continuing to learn that I wanted to share some of these insights, hopefully spare you from some hard lessons learned and maybe even give you some laughs along the way! I hope you enjoy these posts and possibly gain a few ideas you can incorporate into your own lives! As an incredibly insightful man once said, “In all of living, have much fun and laughter. Life is to be enjoyed, not just endured.” (-President Gordon B. Hinckley)
With the hours we spend on electronic devices and the copious amounts of stress we deal with daily as moms providing for our families, it is no surprise that we are visited with the very common and very annoying eye twitch from time to time. The good news is, you don’t have to suffer through it!
I’d like to introduce you to your new best friend, Clary Sage!
Clary Sage finds its way into a lot of uses for our family. We have used it to address styes in the eye, reduce cramping pains during menstrual cycles and as a calming sedative diffused to reduce anxiety and encourage a calm atmosphere at the end of a stressful day. Given these applications, it should come as no surprise why this oil would be my first choice for eye twitching…it is not only calming but antispasmodic!
The fact that it is also great for skin makes it a natural choice for topical application. To reduce eye twitching, I take a drop diluted in a little coconut oil and rub it around the eye socket of the offending eye. The results are virtually immediate!
For you chemists out there, you might be interested in a little more of the science behind this little oil. Clary Sage is a biennial or perennial herb that grows up to six feet in height. The main chemical component of Clary Sage is linalyl acetate, part of the esters group, making it one of the most relaxing, soothing, and balancing essential oils. In the Middle Ages, the Clary Sage plant was frequently used to soothe skin.
When you know all the applications of this oil, you will undoubtedly love it as much as we do! Here’s a few ways we use it in our family…
During your menstrual cycle, rub three to five drops on the abdomen for a soothing massage.
Combine with Roman Chamomile and add to bath water for a stress-relieving bath.
Diffuse or apply to pillow at night for a restful sleep.
Add to shampoo or hair conditioner to promote healthy hair and scalp.
Combine with doTERRA Fractionated Coconut Oil to massage, soothe, or rejuvenate skin.
Most teachers have some sort of air freshener, candles, febreeze or any number of fragrance assistance circulating their classroom during the day. While most of these can be successful in creating a pleasing aroma (or covering up an unpleasant one), you might be rather surprised at the dangers they pose to the health of our children and even more surprised that there is a very healthy alternative!
Most air fresheners contain a compound called phthalates. According to a study conducted by the Natural Resources Defence Council (NRDC), 86% of air fresheners tested contained phthalates. Phthalates, which are also found in many plastics, aerosol sprays, paints, pesticides, cosmetics, and fragrances, are notoriously disruptive to our health. As the NRDC reported in their research, “Most phthalates are well known to interfere with production of the male hormone testosterone, and have been associated with reproductive abnormalities”. In California, Phthalates have been listed among toxic substances “known to cause birth defects or reproductive harm”. The NRDC also warns that airborne phthalates can cause allergic symptoms and asthma. Even trace amounts of phthalates can accumulate to cause these harmful side-effects.
Another concern is the use of formaldehyde in many air fresheners. In case you weren’t familiar with this one, it is a well-known human carcinogen that has been definitively linked to cancers of the nose and throat along with causing ongoing irritation of the throat and airways.
So, what are we to do? Here’s where your natural alternatives come in handy! Enter Essential Oils!
Essential oils not only provide a pleasing aromatic alternative, but they can provide very real health benefits as well! For a very comparable price, you can invest in a small diffuser and 2 or 3 essential oils that can then be diffused throughout the classroom for both aromatic and immune support! The ability to influence moods and emotions is one of the most scientifically validated properties of essential oils. They can be used to calm or uplift, focus or ground, comfort or invigorate. The benefits are real!
Here are a few suggestions to get you started. Test time can be one of the most stressful periods for any student (and teacher!). Helping students be alert and focused is imperative. Essential oils with high concentrations of sesquiterpenes, such as Black Pepper and Vetiver, are effective at promoting alertness and focus. In one study, participants exhibited improved focus while completing a visual display terminal after inhalation of Vetiver and Black Pepper.
Taking the edge off of a very energetic classroom can help everyone become more able to focus and provide an environment much more conducive to learning. The uplifting effects of Peppermint when inhaled were found to decrease feelings that intense tasks were mentally and physically taxing.Basil and Rosemary were also found to be effective when completing tasks that required mental focus. DoTERRA’s Motivate Encouraging Blend combines Peppermint, Basil, Rosemary and Citrus oils in a perfect blend for promoting alertness and focus.
If your class is feeling particularly down or fatigued, combining Peppermint and Wild Orange is a great way to boost immune support, encourage alertness and lift the overall mood of the room.
Not only will diffusing essential oils provide the aromatic relief you are looking for in your classroom, but they will also provide very real health benefits for you and your students! So ditch the toxic compounds and get those diffusers going! Your health and your students will thank you!
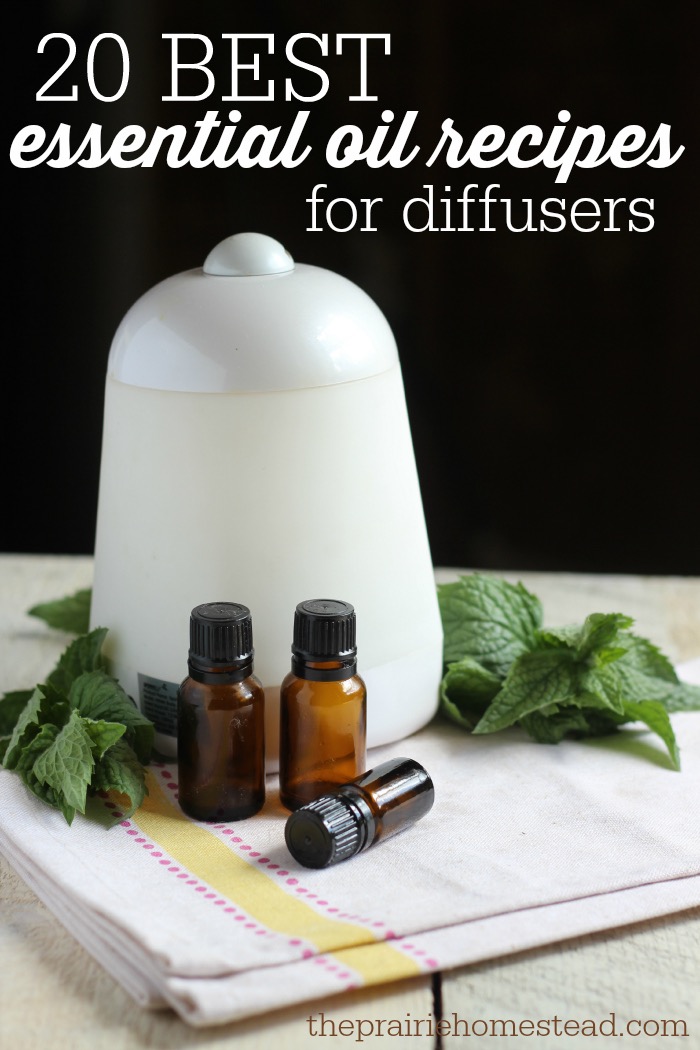
Here’s a quick run down of some diffuser options. There are many out there to choose from. Pay special attention to the size of the room they service and whether or not they have auto shutoff safety features.
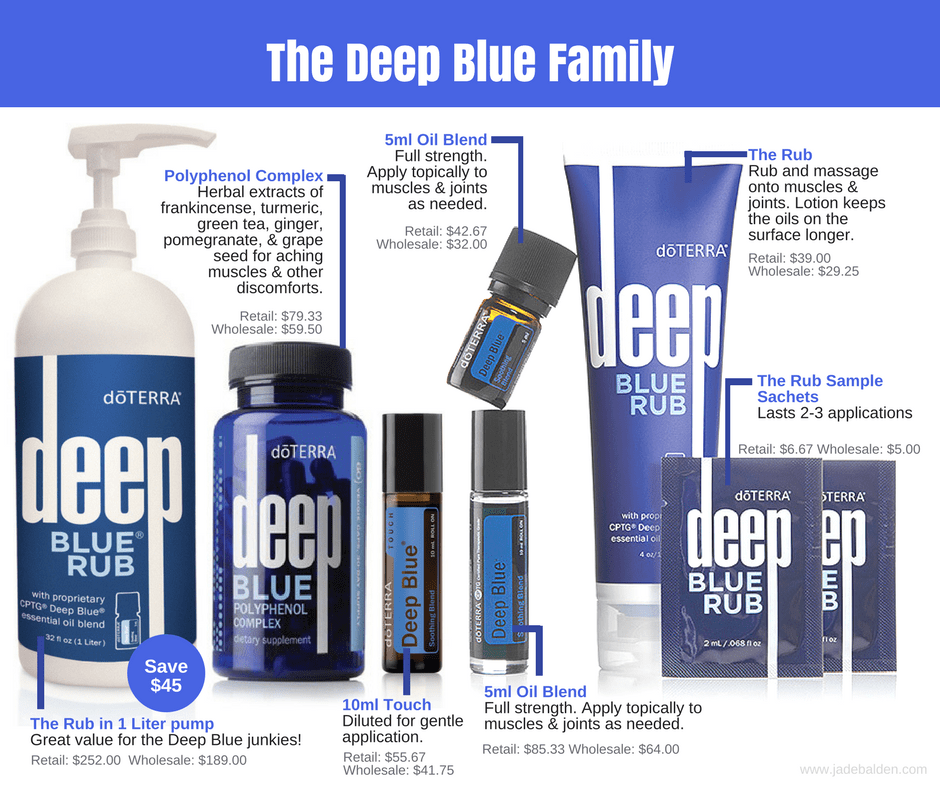
We have LOVED the Deep Blue oil with our families active lifestyle and there is not a sports event I have attended without having one of these products at the ready! Rarely have I ever not had use for it! I do get lots of questions about the differences between each of these products though. So I’d like to take a minute and introduce you to each one…
Deep Blue Rub: Typically producing a wonderful icy/hot sensation on the skin, Deep Blue Rub is the perfect companion for your active lifestyle. The non-greasy formula makes it a wonderful massage lotion for exhausted muscles, delivering the soothing Deep Blue essential oil blend right where you need it. Use it after a long day on your feet, before your nest yoga class, or when you feel stiff after a particularly tough workout. Be cautious using this blend directly after a shower though as open pores will intensify its effects.
Deep Blue Roll-On: The Deep Blue roll-on applicator makes it easier than ever to apply this soothing blend exactly where you need relief. Use the roller bottle to apply the soothing Deep Blue blend directly onto areas of discomfort. With an easy, mess-free application, you can take the Deep Blue roll-on bottle with you anywhere!
Deep Blue Essential Oil (5ml): The proprietary doTERRA Deep Blue blend features Blue Chamomile, Wintergreen, Camphor, Peppermint, Ylang Ylang, Helichrysum and Blue Tansy essential oils, and Osman thus absolute. These eight essential oils combine synergistically to create a powerful blend with comforting and rejuvenating benefits. /Try using Deep Blue before and after rigorous physical activity to harness the power of essential oils for the body!
doTERRa Deep Blue Touch: Deep Blue is a powerful blend, and as such, should be diluted for sensitive skin or before applying on children. The pre-diluted doTERRA Deep Blue Touch is a convenient option for children. Keep it on hand after sports practices, or rub it on a growing child’s legs before bedtime.
Deep Blue Polyphenol Complex: this supplement is the perfect complement to the topical benefits of the Deep Blue product line. Take a capsule in the morning with food to provide soothing support for aching muscles and joints. Deep Blue Polyphenol Complex also promotes healthy mobility and function, making it ideal for anyone experiencing occasional discomfort.
Deep Blue Rub Samples: These samples-size packets of Deep Blue Rub are perfect for sharing! Keep a few in your bag to share with people who need relief for overworked muscles and joints. Or if you’re like me, I keep it on hand for sports injuries! From helping team members that get injured in the game to helping audience members that happen to take a seat in the line of fire (yes, I rescued a grandmother at Diamondbacks game that suffered a very painful arm injury from a wayward baseball! She was so impressed with how quickly she felt better that she was ecstatic I could give her some to take home!). I never regret having a packet or two in my purse!
I hope this has helped clarify the special purposes of each of the members of this incredibly powerful Deep Blue Family! If you would like to purchase any of these items, you can do so at http://www.mydoterra.com/theessentialhome. If you would like to get them at a 25% discount, earn free product and benefit from a host of membership benefits, message me directly or simply enroll here: https://www.doterra.com/US/en/site/theessentialhome/become-a-member
My oldest baby was just saved from what was quickly turning into a potentially miserable and painful weekend!
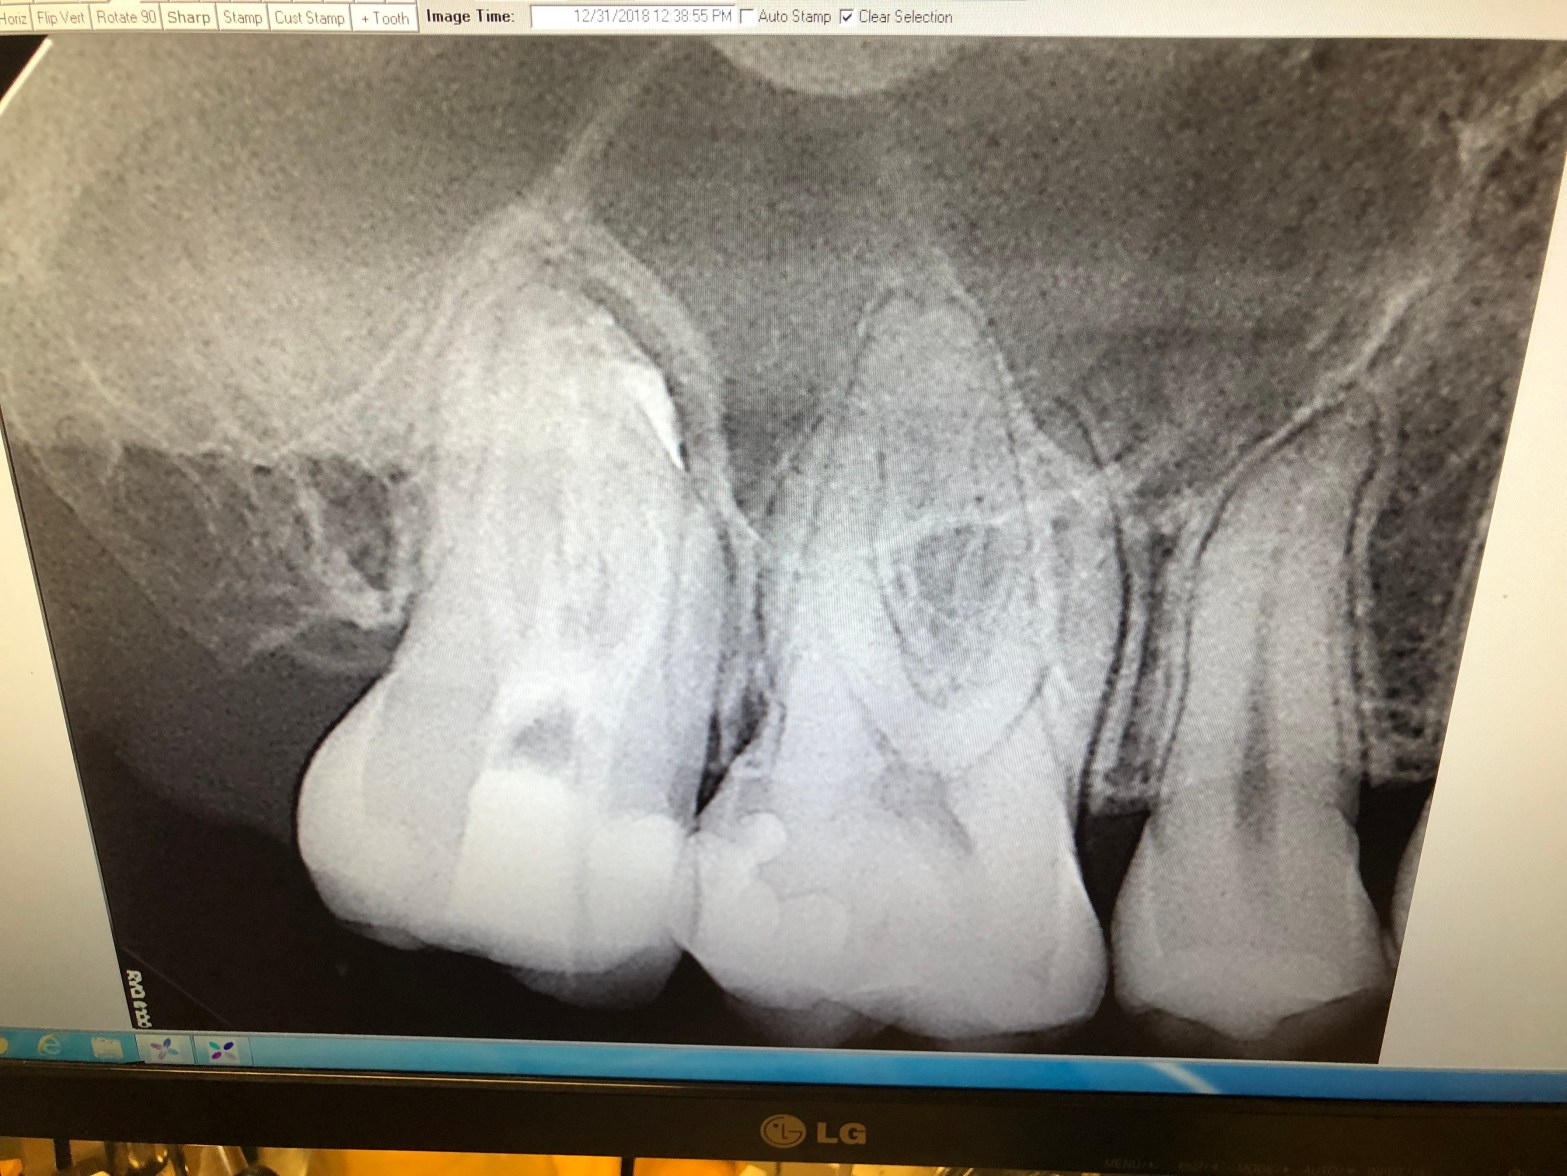
After a rather deep and painful filling for one of her molars about a year ago, we had been warned that the already traumatized tooth may not make a full recovery and could require a root canal in the not too distant future. While the tooth continued to be extremely sensitive to cold, we consulted an endodontist who encouraged us to give it a little time and see if it didn’t recover. Being the pro-active, natural health seekers we are, we happily agreed to wait and treat it as best we could holistically. We switched her over to the OnGuard Toothpaste, refrained from sweets to the best of her ability, toned down the pop consumption and continued a rigorous tooth maintenance of brushing and flossing everyday.
Almost 6 months later, my daughter was rather excited to return for a follow up visit because the sensitivity had virtually disappeared! Not for just that single tooth, but for ALL of her teeth that were previously ultra-sensitive to sweets and cold. She sat down and had the endodontist run his test of placing extreme cold on each of her teeth. While the bulk of her teeth showed marked improvement on their sensitivity rating, the troubled tooth was not so fortunate. He held the cold element on there for nearly a minute without a single flinch from my daughter and as he looked at me, we both knew that that root had not recovered as we’d hoped.
We scheduled her for a root canal the following week.
As the weekend began, my daughter started complaining of tooth and jaw pain. And as the night wore on, it was becoming painfully obvious that it was getting progressively worse. It would appear that the testing had stirred up the infection already underway in the damaged root. By the next morning, my daughter was in so much pain she could hardly sleep.
I hurriedly called our medically trained friends for advise. They warned me this was not pain to mess around with as it could be debilitating and that homeopathic remedies would not touch this. They encouraged us to first try a regimen of Advil. We tried that with no affect. They then advised us to add in Tylenol. We did. No affect. They then encouraged us to start her immediately on an antibiotic (which we did) along with administering a low dose of oxycodone. This terrified my daughter as she had seen one of her friends fall prey to the addictive qualities of this drug and it scared her to death to go anywhere near it. But she was in so much pain, she reluctantly gave it a try. Even with this super powerful pain medication in play, it had no affect on reducing her pain. And it had the added negative side effect of stealing away her ability to sleep restfully…an effect we also saw in her brother when he was prescribed this for his own horrific head injury over a year ago. As a result, after only a day or two, he too refused to use this drug for pain management and resorted to our natural essential oil ministrations with much more positive results.
As we were waiting for her endodontist to get back to us with hopefully a sooner appointment, I desperately went to my oils to see what I might be able to do to help. Now first understand that this is my daughter that has extreme sensitivity to oils applied topically which oftentimes prevents us from using regimens that involve exposure to skin. So our only options were aromatic and internal administration. So I made a capsule of 3 drops of Copaiba, 3 drops of Tumeric and 2 drops of Pink Pepper. We also started her on the Lifelong Vitality Supplements. She took this and left the room to lay down. A few minutes later she came back in with a half smile on her face and asked, ” what was that you just gave me?”. I told her. She said she felt relief for the first time in 2 days!
Essential oils saved the day again! We continued with this regiment for the next day and a half. It had the added benefit of helping her sleep better as well! Her endodontist was thankfully willing to schedule her earlier and we were able to get the damaged and abscessed root cleaned out a day and half later. But we were both so relieved to have stumbled upon a regimen for pain management that was non-addictive, had no negative side effects, and yielded results far superior to the more widely prescribed pharmaceutical options!
I share this with you to help you know that if you deal with pain and discomfort, you should know there are natural options available to you! The solutions may be a bit different for different people and different health conditions (as we have discovered in our own family), but they are there! They are waiting for you! And they are accessible to you! If you are interested in learning more, please reach out to me at jennifer@mycrazy8.com for a consultation. Learn about these natural tools and how they can dramatically change impact your health and wellness!
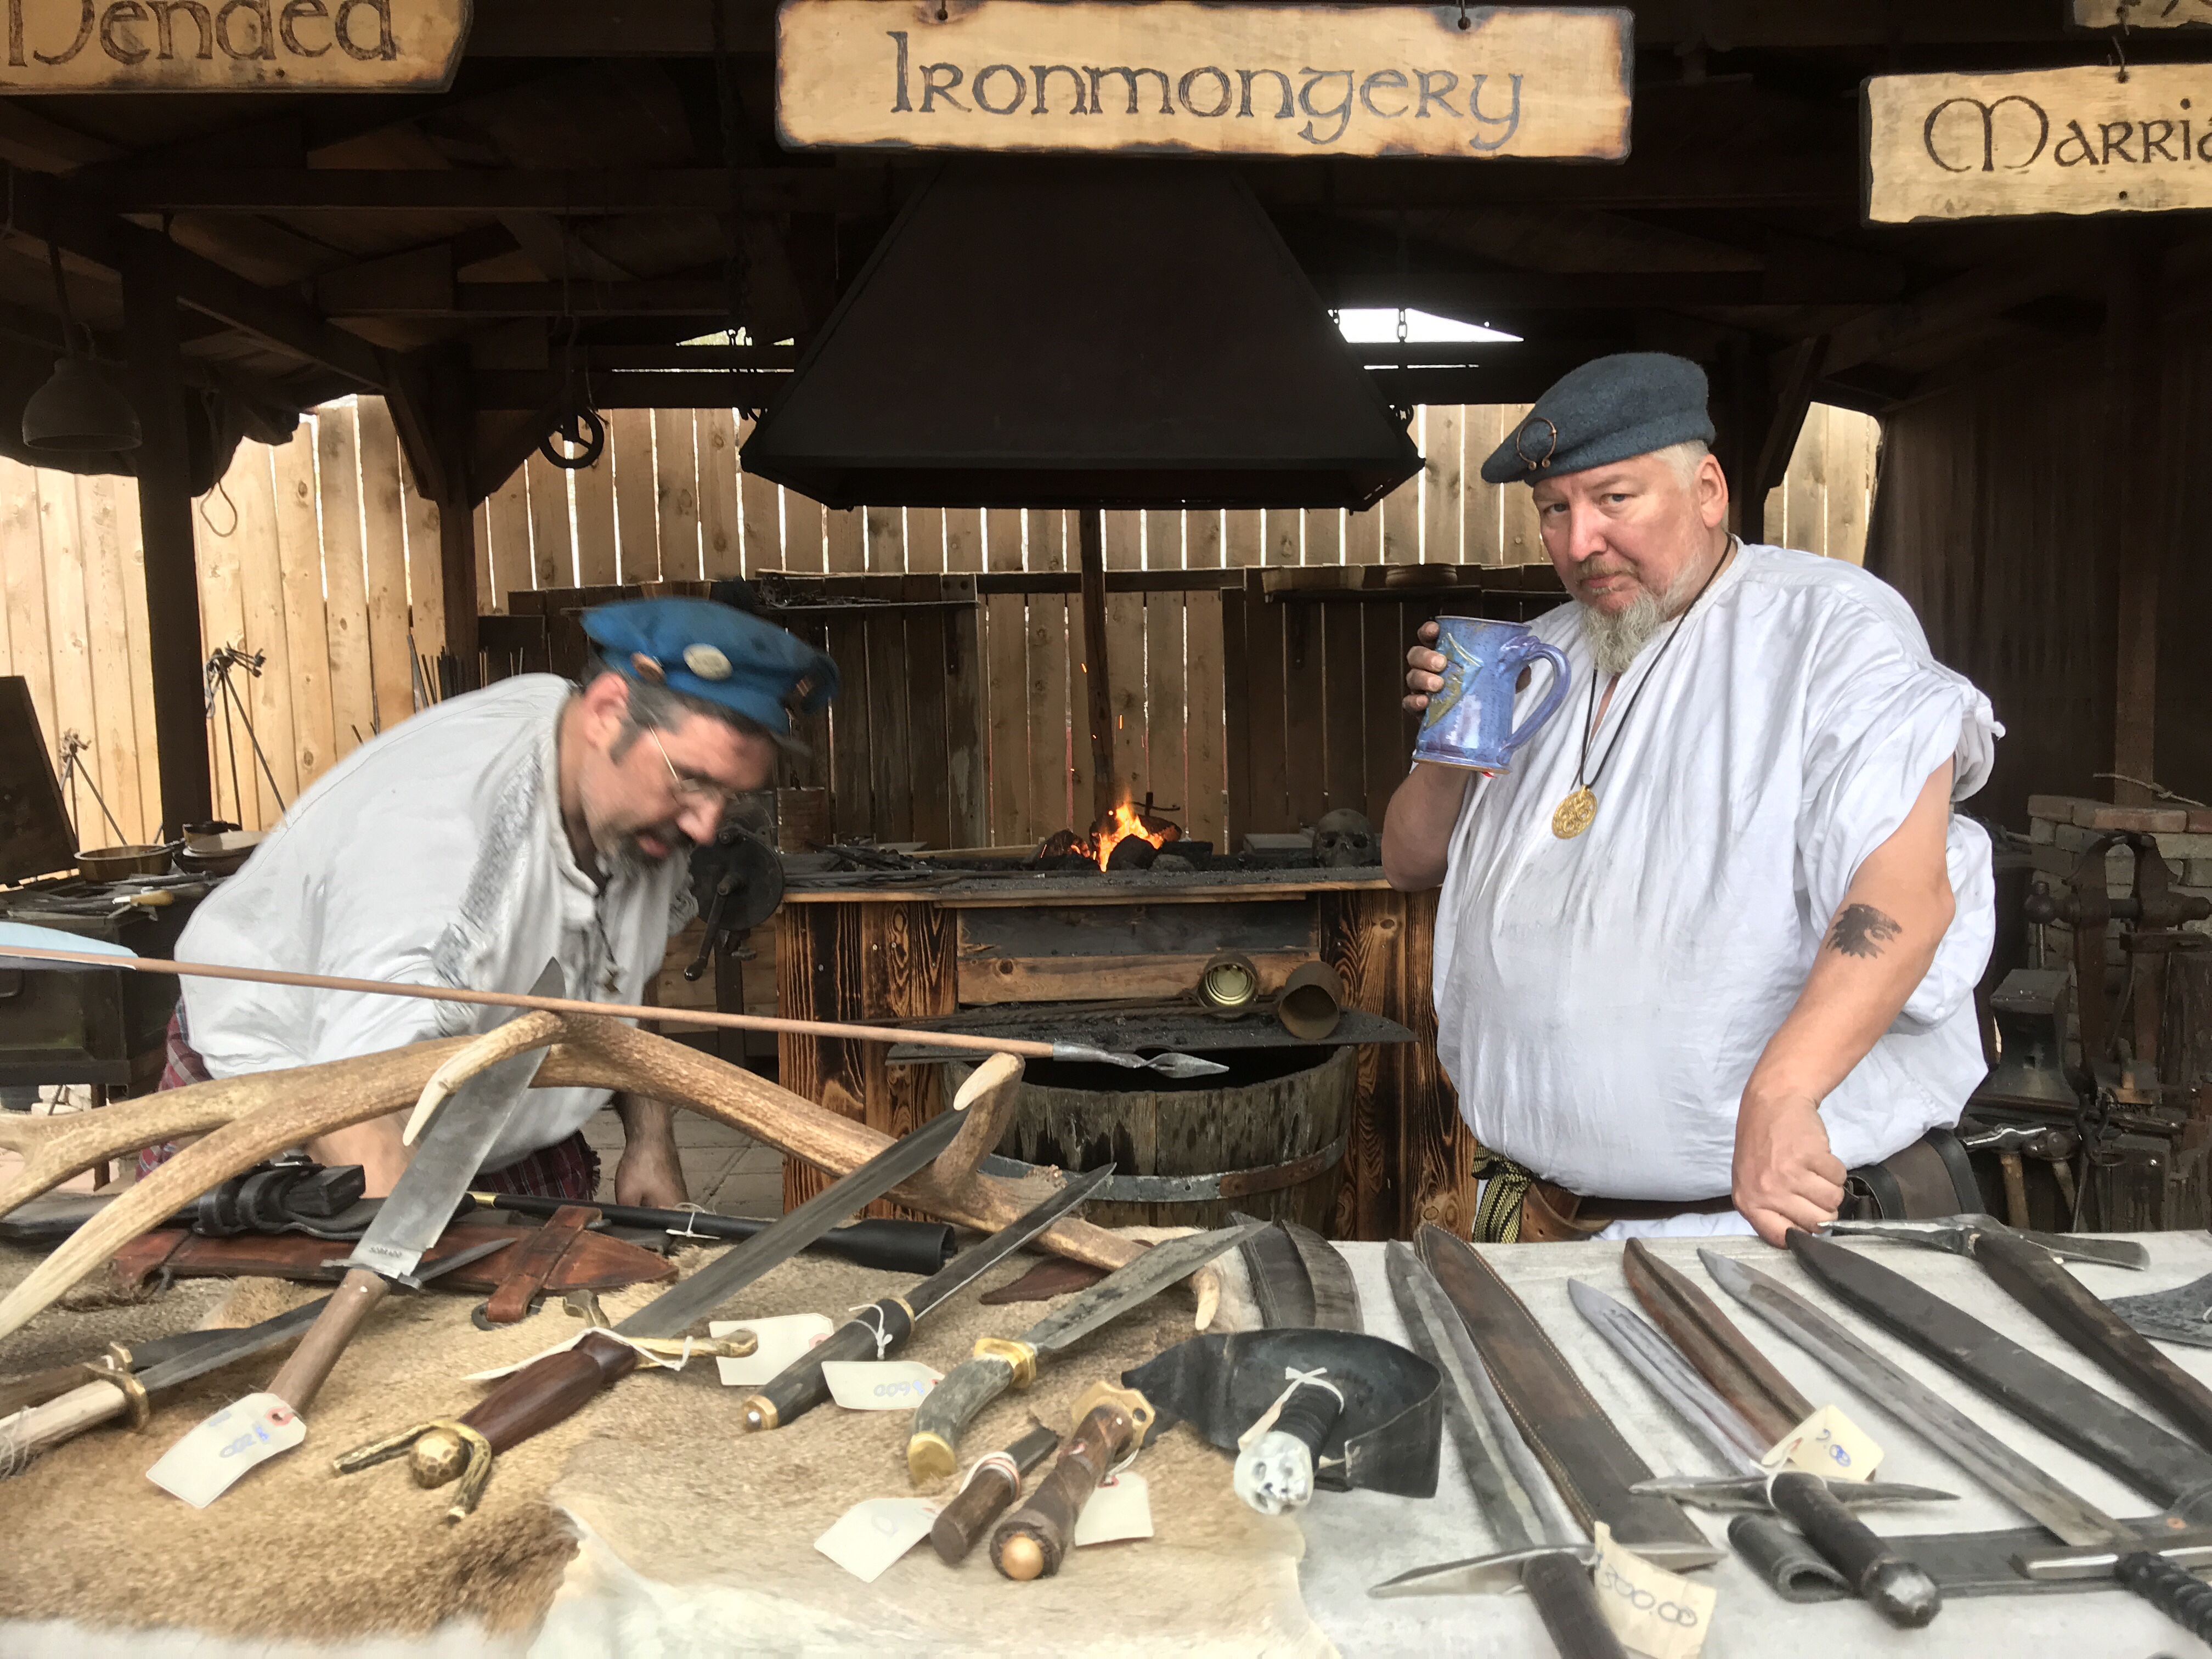
This is no April Fools Joke! March 31 and April 1 are the final days of the 30th Annual Arizona Renaissance Festival and we have a few suggestions to help make your visit truly memorable!
First and most importantly, go to the Renaissance to PLAY, not to just to visit!
The fair vendors, actors and performers are truly here because they LOVE it! If you are willing to immerse yourself as they have, you will have a much more incredible experience! MyCrazy8 makes sure to dress up, however modest or inauthentic…it is, after all, the effort that matters most and trust me, the village performers will love you for it! Our boys have been knighted; our girls have been courted by his royal highness Prince Nicholas, himself!; our smaller boys have been trained by true knights of the realm on proper swordsmanship and fighting technique; and our younger girls and boys have had memorable encounters with wandering fairies and mischievous dragons! So heed this wise advise…dress up and PLAY with the characters you encounter at the fair!
A few of our favorite characters to encounter: Pirate Captain Drake (he taught us “the smolder”), Prince Andrew, Twig the Fairy and her Fairy Friends, Wiggins , self proclaimed “Man in the Funny Hat” (campaigning for Fairy Ambassador), and if you get there first thing in the morning, join in the revelry with the townsfolk as they teach you the Escargot dance (only performed once a day)!
Second, get a map and pay attention to the show ratings!
This is especially important if you are attending with younger children. Some of the humor and content of certain shows is not necessarily the best for a younger crowd. The shows earlier in the day are usually your best bet with the younger kiddos. But check the ratings first before popping down with your little brood! Some of our favorite family-friendly shows are the Birds of Prey, Mother Goose and her animal friends, the Mermaids, and of course the Joust! My bigger kids absolutly love Ded Bob and the Tortuga Twins (but definitely stick to the earlier shows for these guys as the afternoon shows can become a bit raucaus!). There are countless demonstrations throughout the streets of unusual musical instruments, magic shows, weapons training, blacksmiths, weavers and so much more! Take time to pay attention as you walk the streets…you never know what you might find!
Third, bring snacks and water but don’t mis out on the tremendous food choices in the fair!
Our favorites are the orange/strawberry slushes (these are a wandering streeet vendor so you might have to ask one of the villagers where they are on any given day), steak on a stake, bread bowls and of course, chocolate covered strawberries! Trust me, spend an extra buck and get the cup of strawberries and cream with chocolate…it is going to leave you with a smile on your face!
And Fourth, don’t impulse buy in the first few steps of the fair!
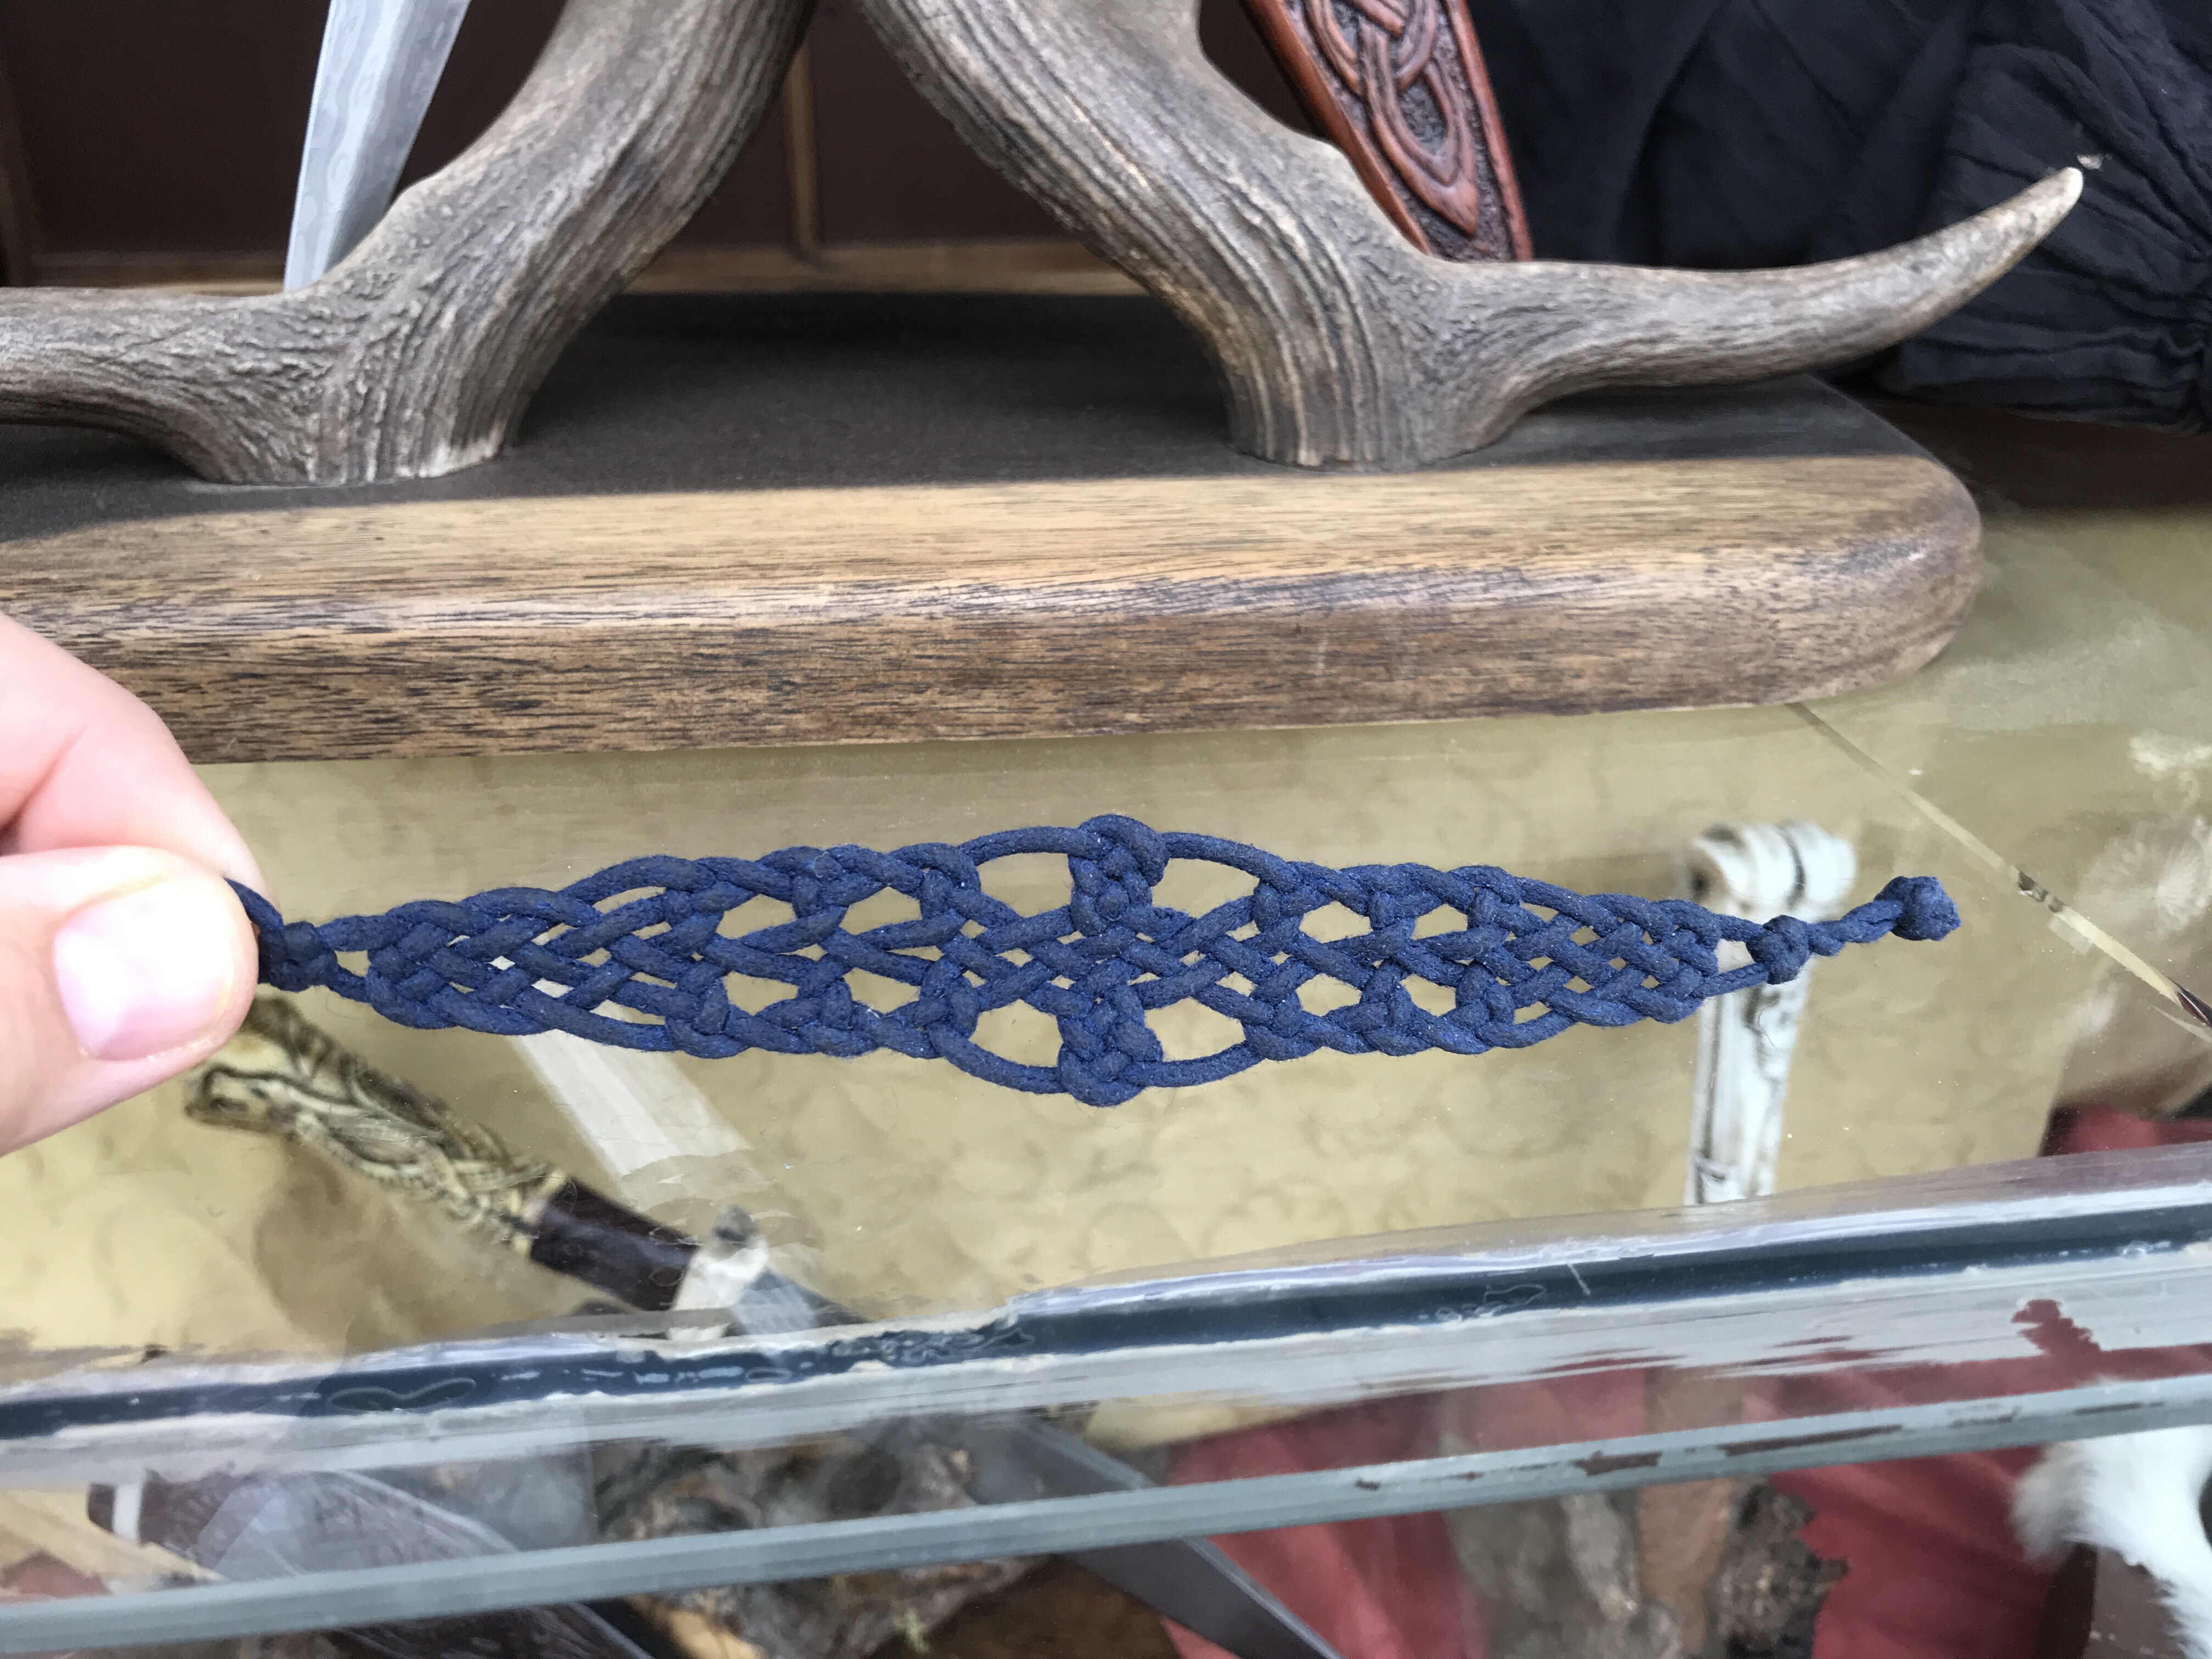
Take time to wonder back and visit all of the vendors in the fair as you will find some of the same items but with a variety of pricing a little further back. Plus, you will see incredible variety through their considerable talents. We are constantly blown away by the variety of skilled artisans. Just this year we discovered Knot Working, a Celtic Knotwork Jewelry artist! My fellow boy scouters were enthralled by his skill and dexterity and left not only with a few keepsakes, but with inspiration to try their hand at their own “knotworks”! There are so many incredibly talented artisans that attend the fair every year. Give them a chance to show you what they can do! The are very knowledgeable and enthusiastic to share their talent and experience! Ask them about their trade!
I always like to post a few fun diffuser blends that I have had personal success with and I often get requests from friends for more recipes. Don’t worry…I’ll keep ’em comin’! (A little teaser here…stay tuned for my first ebook coming out soon!) But as you may have guessed from all my recipes I post on my website and here, I’m not about hoarding information! I want all of you to find confidence and success in your essential oil use! And the best way to do that is not only by helping you to skip a lot of the time-consuming trial and error by showing you what I’ve found works, but to help you learn (at a faster pace than I did!) how the oils work so that YOU can start adventuring out on your own, safely and with greater success and confidence!
So, today’s post is in answer to a question I get ALL THE TIME…”how do I make my own diffuser blends”? Incidentally, these guidelines are not only applicable to diffuser blends, but also to creating your own personal perfume/cologne blends!
Lesson number one: every blend needs a base. If you’re making a diffuser blend, the water becomes your base. But if you’re looking to create your own perfume/cologne rollerball blend, you need to remember that water and oil do not mix. So your base needs to be oil or alcohol based. I prefer fractionated coconut oil or witch hazel as the base for my rollerball perfume blends…they are not as drying as alcohol and much cheaper! But many choose vodka as their base. Why vodka? Vodka not only disperses the oils evenly throughout the blend, but the alcohol has no smell and also helps the scent linger a little longer in the air. Remember, your base should be about 80% of the blend, with essential oils making up the remaining 20%.
Lesson number two: Essential oil blends are like music (another reason I love them so much!). They are made from various “notes”. When used in harmony, just like beautiful chords on a piano, these notes become more when paired, complementing and enhancing each other to recreate an entirely new and enjoyable aroma.
TOP NOTES: Top notes usually make up between 5-20% of the blend. They tend to be light, crisp, and penetrating. These essential oils diffuse quickly and are accents that are noticed first before they quickly evaporate.Spme examples of top notes are orange, bergamot, grapefruit, lemon, and lemon grass. Some lovely Top-Middle notes are BAsil and Fennel.
MIDDLE NOTES: Middle notes usually make up between 20-80% of the blend and become the main body of the blend. They help to harmonize the mixture. Some examples of middles notes are lavender, cypress, eucalyptus, fir, geranium, helichrysum, marjoram, melaleuca, rosemary, ginger, thyme, oregano, peppermint, blue tansy, Siberian fir and neroli. Some beautiful Middle to Base notes are clary sage, rose, and ylang ylang.
BASE NOTES: Base notes make up about 5-20% of the blend and give it depth. These oils are usually not recognized until several minutes after application and they grow more pleasant over time. They are usually the longest-lasting fragrance in the mixture. Some examples of Base notes are copaiba, frankincense, sandalwood, cedar wood, myrrh, vanilla and vetiver.
Lesson number three: Get inspired! As you venture into creating your own blends, start with the purpose you have in mind. Inspirations for your blends may be seasons, holidays, moods, etc. It helps to sample each oil you are considering for a blend. A lot of my inspiration comes from my desire to affect emotions…for instance, stress relief, calming before bedtime, motivating during work hours, uplifting during times of trial or creating a cheery atmosphere. I often open the bottles of the oils I’m looking to combine and hold them together in my hand, smelling them all at once. It really helps as you imagine what they might become together.
One of my all time favorite blends to combine in a roller bottle and wear as perfume is my Happy Momma blend! Check it out on Http://www.mycrazy8.com/eorecipes_bath. Here is a wonderful diffuser discovery we made the other night! Enjoy!
My not-so-little brood has seen a lot of fun skin issues through the years. From acne and dry, itchy “chicken” skin (it’s called “Keratosis pilaris” if you’re wondering) to eczema and athletes foot; and of course, having toddlers, we have experienced baby acne, cradle cap, diaper rash and scrapes that come with the territory! We have tried Aveeno Oatmeal baths, expensive eczema and pilaris creams and ointments, diaper rash creams (of EVERY kind!) and been through more athletes foot treatments than I care to admit (a product of several boys in several sports!). Hydrocortizone cream and Cetaphil lotion has been a staple in our bathroom cabinets for a very long time. And through it all, I have learned a few things! If you have dealt with or are currently dealing with these kinds of skin issues, keep reading! If not, you are a blessed and lucky person…pay it forward by sharing this post with your friends because I guarantee you’re in the minority!
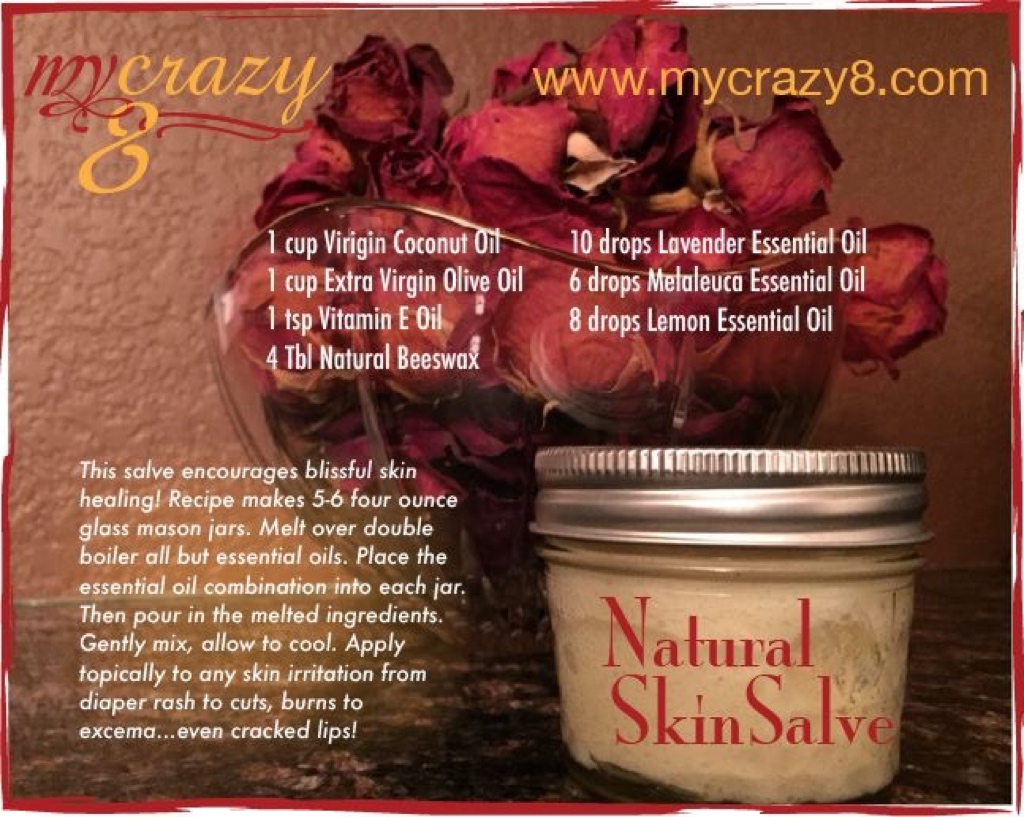
I am first going to share this amazing skin salve recipe that has literally treated 95% of our skin issues! Where all the commercial products have failed, this simple, inexpensive and easy DIY recipe has triumphed! From diaper rash and cradle cap on my babies to keratosis pilaris and eczema on me and my older kids, this recipe has never failed me…not ONCE! A little goes a VERY long way so use sparingly. It is also amazing to use on dry skin (like those tree-bark-worthy sandaled feet we Arizonans feel we have to wear with pride!), rough hands from winter weather, cuts or burns and chapped lips from dry climates. It is simple to make and uses only 4 ingredients and 3 different essential oils (4 if you choose to include the optional but amazingly beneficial oil of Frankincense). Remember this has a shorter shelf life due to the olive oil…olive oil expires in about 6 months from opening the bottle so bear that in mind when you make it and use it.
Base Ingredients: (melt in double boiler)
1 cup Virgin Coconut Oil
1 Cup Extra Virgin Olive Oil
1 tsp Vitamin E Oil
4 Tablespoons Natural Beeswax
Essential Oil Ingredients (this combination is placed in each 4 oz jar of the base)
10 drops lavender
6 drops Melaleuca
8 drops Lemon
6 drops Frankincense (optional but so very beneficial!)
The only condition this recipe has fallen a bit short in treating so far is the ever pervasive athletes foot fungus. While this salve is definitely a part of the healing process, I have one more little trick up my sleeve for dealing with the athletes foot…
This shower foot scrub recipe is literally the BOMB! It will blow up your athletes foot and clear it within a day or two! Especially when used in conjunction with this skin salve recipe!
Athletes Foot Shower Scrub
Ingredients:
1/2 cup Apple Cider Vinegar
1/2 cup Water
Baking Soda (enough to form a paste)
Essential Oils:
6 drops Melaleuca
8 drops Lemon
6 drops Lavender
Other essential oils that would work well:
Thyme
Arborvitae
Rosemary
Clove and/or Oregano (these are HOT oils so use sparingly! 1-2 drops)
Mix ingredients into a paste. Scrub the feet at least twice a day and rinse clean. Apply skin salve and clean socks after drying feet thoroughly. We have seen results begin after the first day!
Remember, the fungus lives in shoes, on towels and on socks…simply washing infected items will not kill it! Freezing your shoes for 24 hours can be effective in killing it. Also washing clothes in HOT water and add anti-fungal essential oils, vinegar, or hydrogen peroxide to kill germs. It would be wise to start with a fresh supply of socks and just toss the infected ones. And remember, you MUST treat the shoes as well! You can take a few drops of Arborvitae or Melaleuca on a cotton ball and insert into each shoe…then place each shoe in a ziploc bag to sit overnight. Here’s a great recipe for a powder you can put inside the shoes as well…
Athletes Foot Powder (also works on stinky feet!)
Ingredients:
6 Tablespoons Arrowroot Powder
3 Tablespoons Baking Soda
Essential Oils:
5-10 drops Melaleuca Oil
5-10 drops Eucalyptus Oil
10-15 drops Peppermint Oil
Combine all ingredients in a shaker jar (I use an old mason jar with holes poked in the top!) and lightly sprinkle it in your shoes immediately after wearing and once again immediately before wearing.
Have you used natural remedies for your skin issues? I’d love to hear from you with what worked, what didn’t and if you try these recipes in this post, please let me know how they worked for you! Please take a minute and “like” me on facebook for more great tips and recipes!
Yup, the dreaded nightly question that haunts us busy entrepreneur moms that juggle a million domestic to-do items in an average day alongside our million business-related to-do items. Even if we are meal planning ninjas, there are always those nights that just don’t go as planned. The baby didn’t take that well-planned out nap. Two kids called from school in a panic about that forgotten item that must be delivered to prevent scholastic armageddon. Any number of client “emergencies” completely blew your well-laid-out dinner preparation time.
And so here you stand…at 4:00pm…facing down those hungry eyes of your busy kiddos who themselves are facing a busy evening of activities with only a small window for dinner.
Lets just get one thing straight…
I am NOT a meal planning ninja.
So unfortunately, I seem to find myself in this position quite frequently!
But while I may not be a meal planning ninja, I do have certain skills in pulling together quick and mostly nutritious dinners to make up for it!
So what’s for dinner?? Well, let me tell you! This recipe I will drop on you tonight is what WE had for dinner and if you are anything like me, you might be having it for dinner sometime this week too! Because it is not only an every-age-crowd-pleaser but it is quick, uses everyday items you probably already have on hand, and it is actually nutritious! Win, win, right?
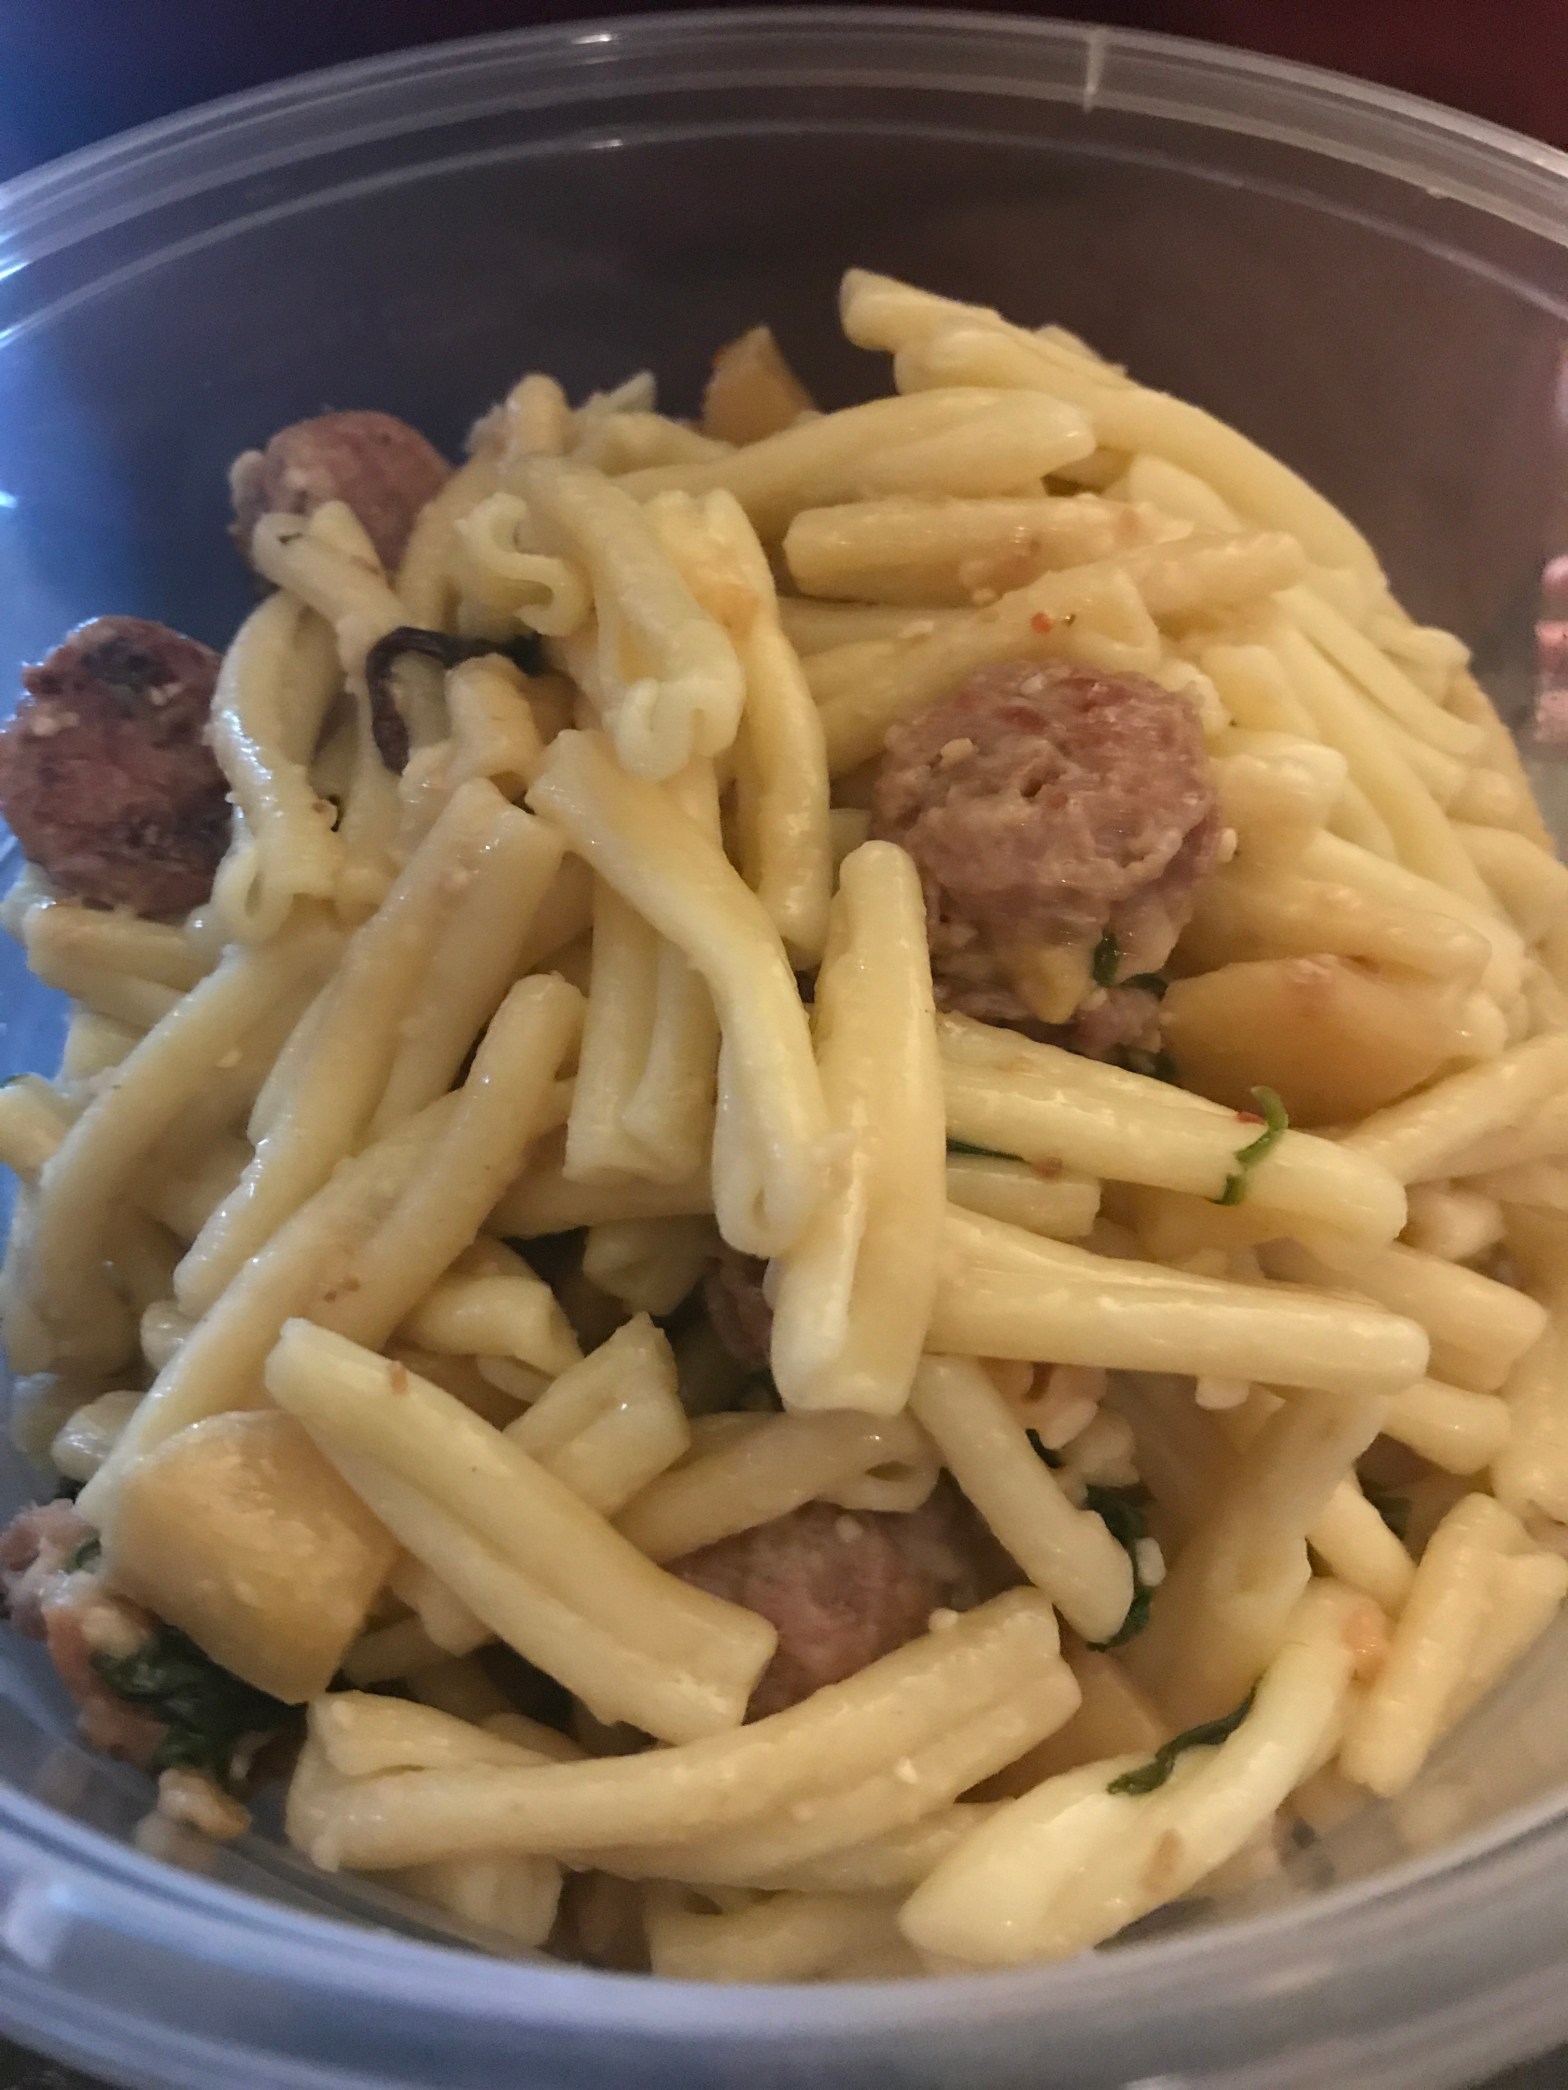
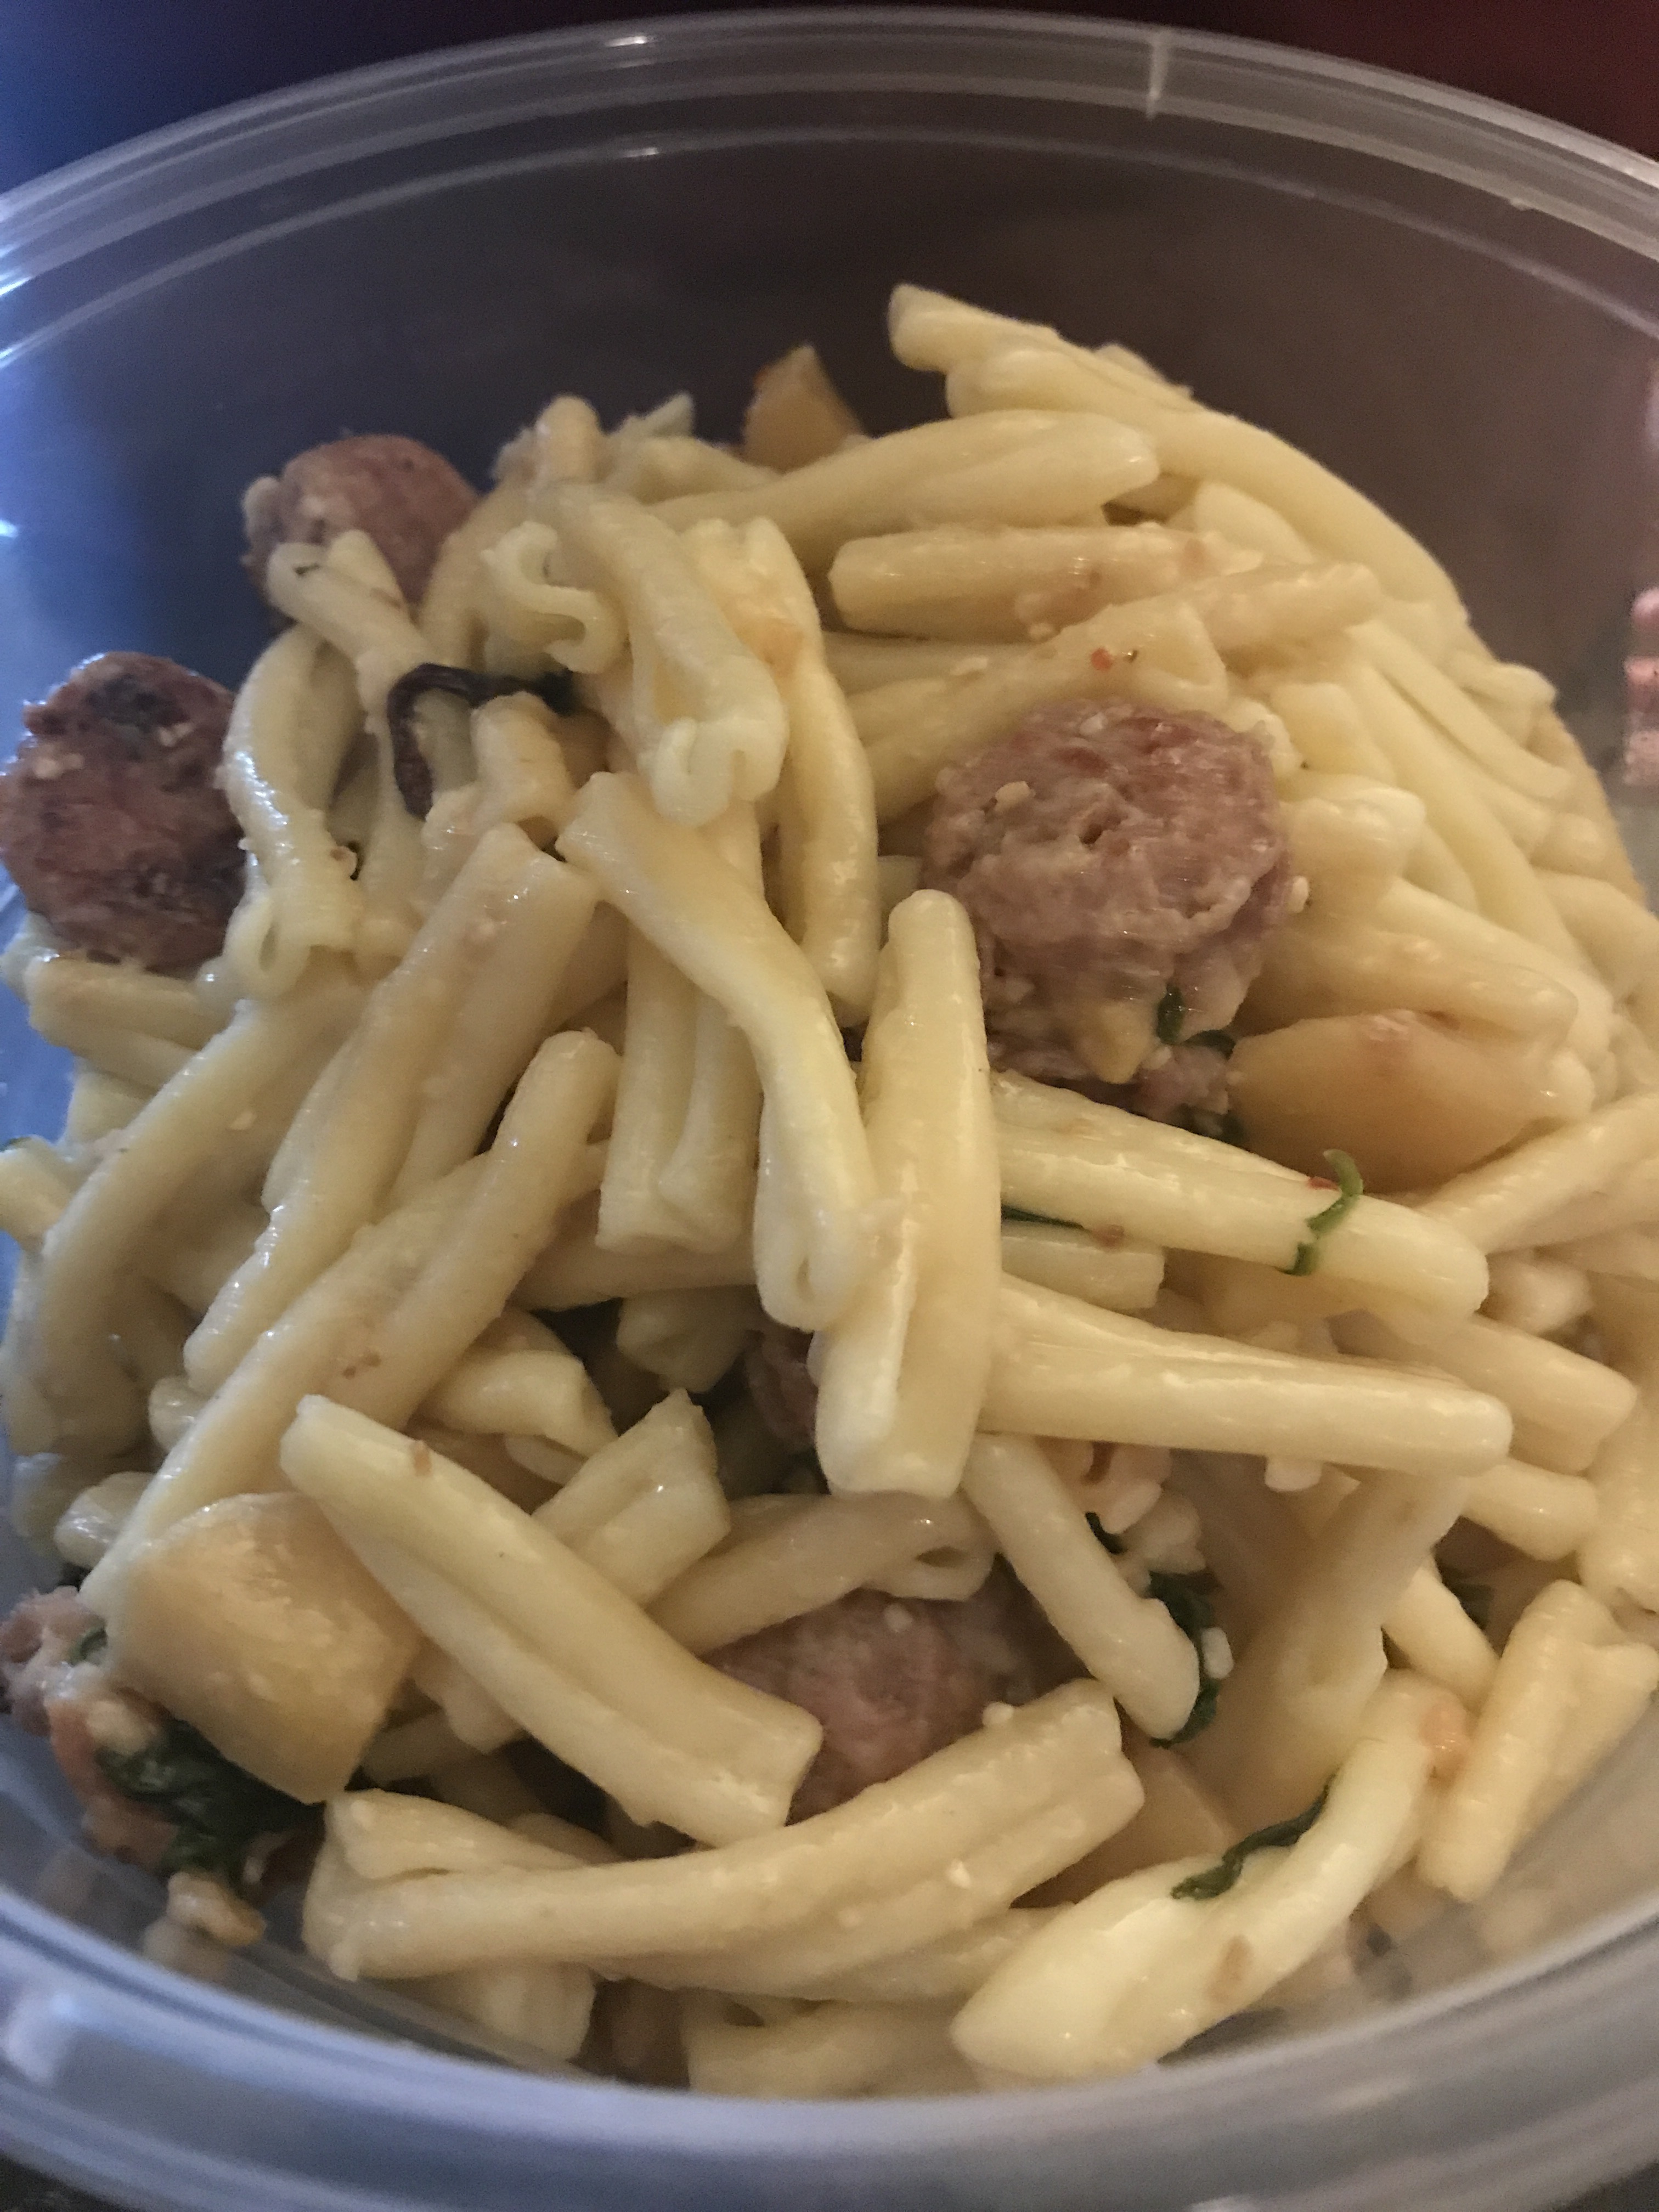
So here we go! I don’t necessarily have a name for this one yet but tonight it was called “that awesome pasta” by my kiddos! Here’s what you’ll need:
about 1lb of Gemelli Pasta (or short cut pasta of your choice)
1 pkg Sweet Apple Chicken Sausages ( we get ours at Costco from the frozen meat section)
1-2 sweet apples (peeled and cut into chunks)
1 large sweet onion diced (a large shallot is preferable but I almost never have those at hand!)
4 cloves garlic
4 tablespoons extra virgin olive oil
a pinch of red chili pepper flakes
6 oz baby spinach
1 cup chicken broth
Here’s what I do with all that yumminess!…
Get that salted water boiling for the pasta and drop it in to start cooking.
Heat the extra virgin olive oil in a large frying pan while you cut the sausage into small pieces. Then add the sausage and diced onion to the oil to brown (about 3-4 minutes).
Add the garlic, apples and chili pepper flakes to the sausage/onion mixture and cook an additional 2-3 minutes until the apples are soft
Add the chicken broth, about a cup of the pasta water and the baby spinach and cook until the spinach is wilted and the sauce has thickened. (About 2-3 minutes)
Drain that pasta and combine the pasta with the meat mixture.
Toss everything and garnish with some parmesan cheese to taste!
Bam! Done! I like to set some vegetables to steam for about 15-20 minutes while I’m making this dish. Throw in a little bread and fruit and you’ve got a 30 minute meal that will look and taste like you’ve been in the kitchen for hours! This is a crowd pleaser from my 11 month old all the way up to my teenagers and husband!
Enjoy!
If I have saved even one of you from that “what’s for dinner” evening panic, then this post was well worth it! What are some of your favorite last-minute dinner saves?
With 8 of us, I guess it was just a matter of time. We have dodged bullet after bullet on this one for years but our luck finally ran out this week.
If any of you have faced even the possibility of lice, you’ll want to read this post! I will be sharing our little nasty journey and giving you some great info on treatment options as well as preventative ones. I don’t like to offer up advice, recipes or recommendations when I haven’t had direct experience with something and this is no different. I have simply avoided this topic when it comes to Essential Oils as I know there is serious skepticism out there with whether or not they actually work on lice and I woulnd’t ever want to steer you astray! But faced with our own little epidemic, the cost of “lice kits” and the sheer number I’d have to purchase to effectively treat my whole family, I had to start taking a very real look at treating with EO’s first.
So, are you ready? Here we go! Buckle up! If you’ve ever dealt with or worried about lice before, you’ll be glad you stuck around for the ride!
DAY 1
So the story begins after we returned from a very fun vacation up north. We were so excited to be home and settling back into some semblance of a schedule. My youngest daughter had been complaining about an itchy head for some time. I had checked her several times but I think I just was not confident enough to know for sure what I was checking for. She is prone to dry skin and I assumed that this was what we were dealing with. For those of you who don’t know, lice can look deceptively like dandruff. The way you can tell the difference is the dandruff will brush easily out of the hair but nits will not budge. This would have been important information to have known several weeks earlier!
Without that little pearl of wisdom in my arsenal, I moved ahead with my assumption of dry scalp. Now that we were home, I purchased some essential oil-infused shampoo and deep conditioner and went to work on her scalp before and after her shower. Apparently, the EO’s in the shampoo and conditioner succeeded in flushing the little buggers out because when I started combing through her hair, there was a LOT of movement! That was the moment I realized without a doubt what we were actually dealing with. Trying by best to keep my cool and not throw up (so as not to panic my 9 year old), I began picking out what I could see moving and began to research what we were up against and where we needed to go from here. I became increasingly panicked as I realized this daughter had been sharing brushes with me and my oldest daughter for the last week (why take three brushes on a trip when you can get away with packing one?)! Plus she had shared a bed with my oldest daughter the whole time as well! Two very long car rides in tight quarters, shared suitcases and lots of group sleeping arrangements for an entire week began to piece together in my mind. The crushing ramifications of our packing conveniences and sleeping arrangements struck me all at once and I slowly started realizing what we might actually be facing…a whole family with lice?!?! Please say it isn’t so!
It was 10:45pm at that point. I had done a quick check through everyone and it looked like my boys might have somehow escaped this one. My older daughter and i though were not so lucky. While we weren’t as bad as my youngest daughter, there were some obvious signs that we would need treatment as well. I always thought lice were something you find in really nasty, dirty hair. I learned that they actually LOVE clean hair and very much prefer it over dirty, greasy hair! Clean hair makes it so much easier for them to latch onto the hair follicle. So I guess we’ll be relaxing the hair washing rituals around here…
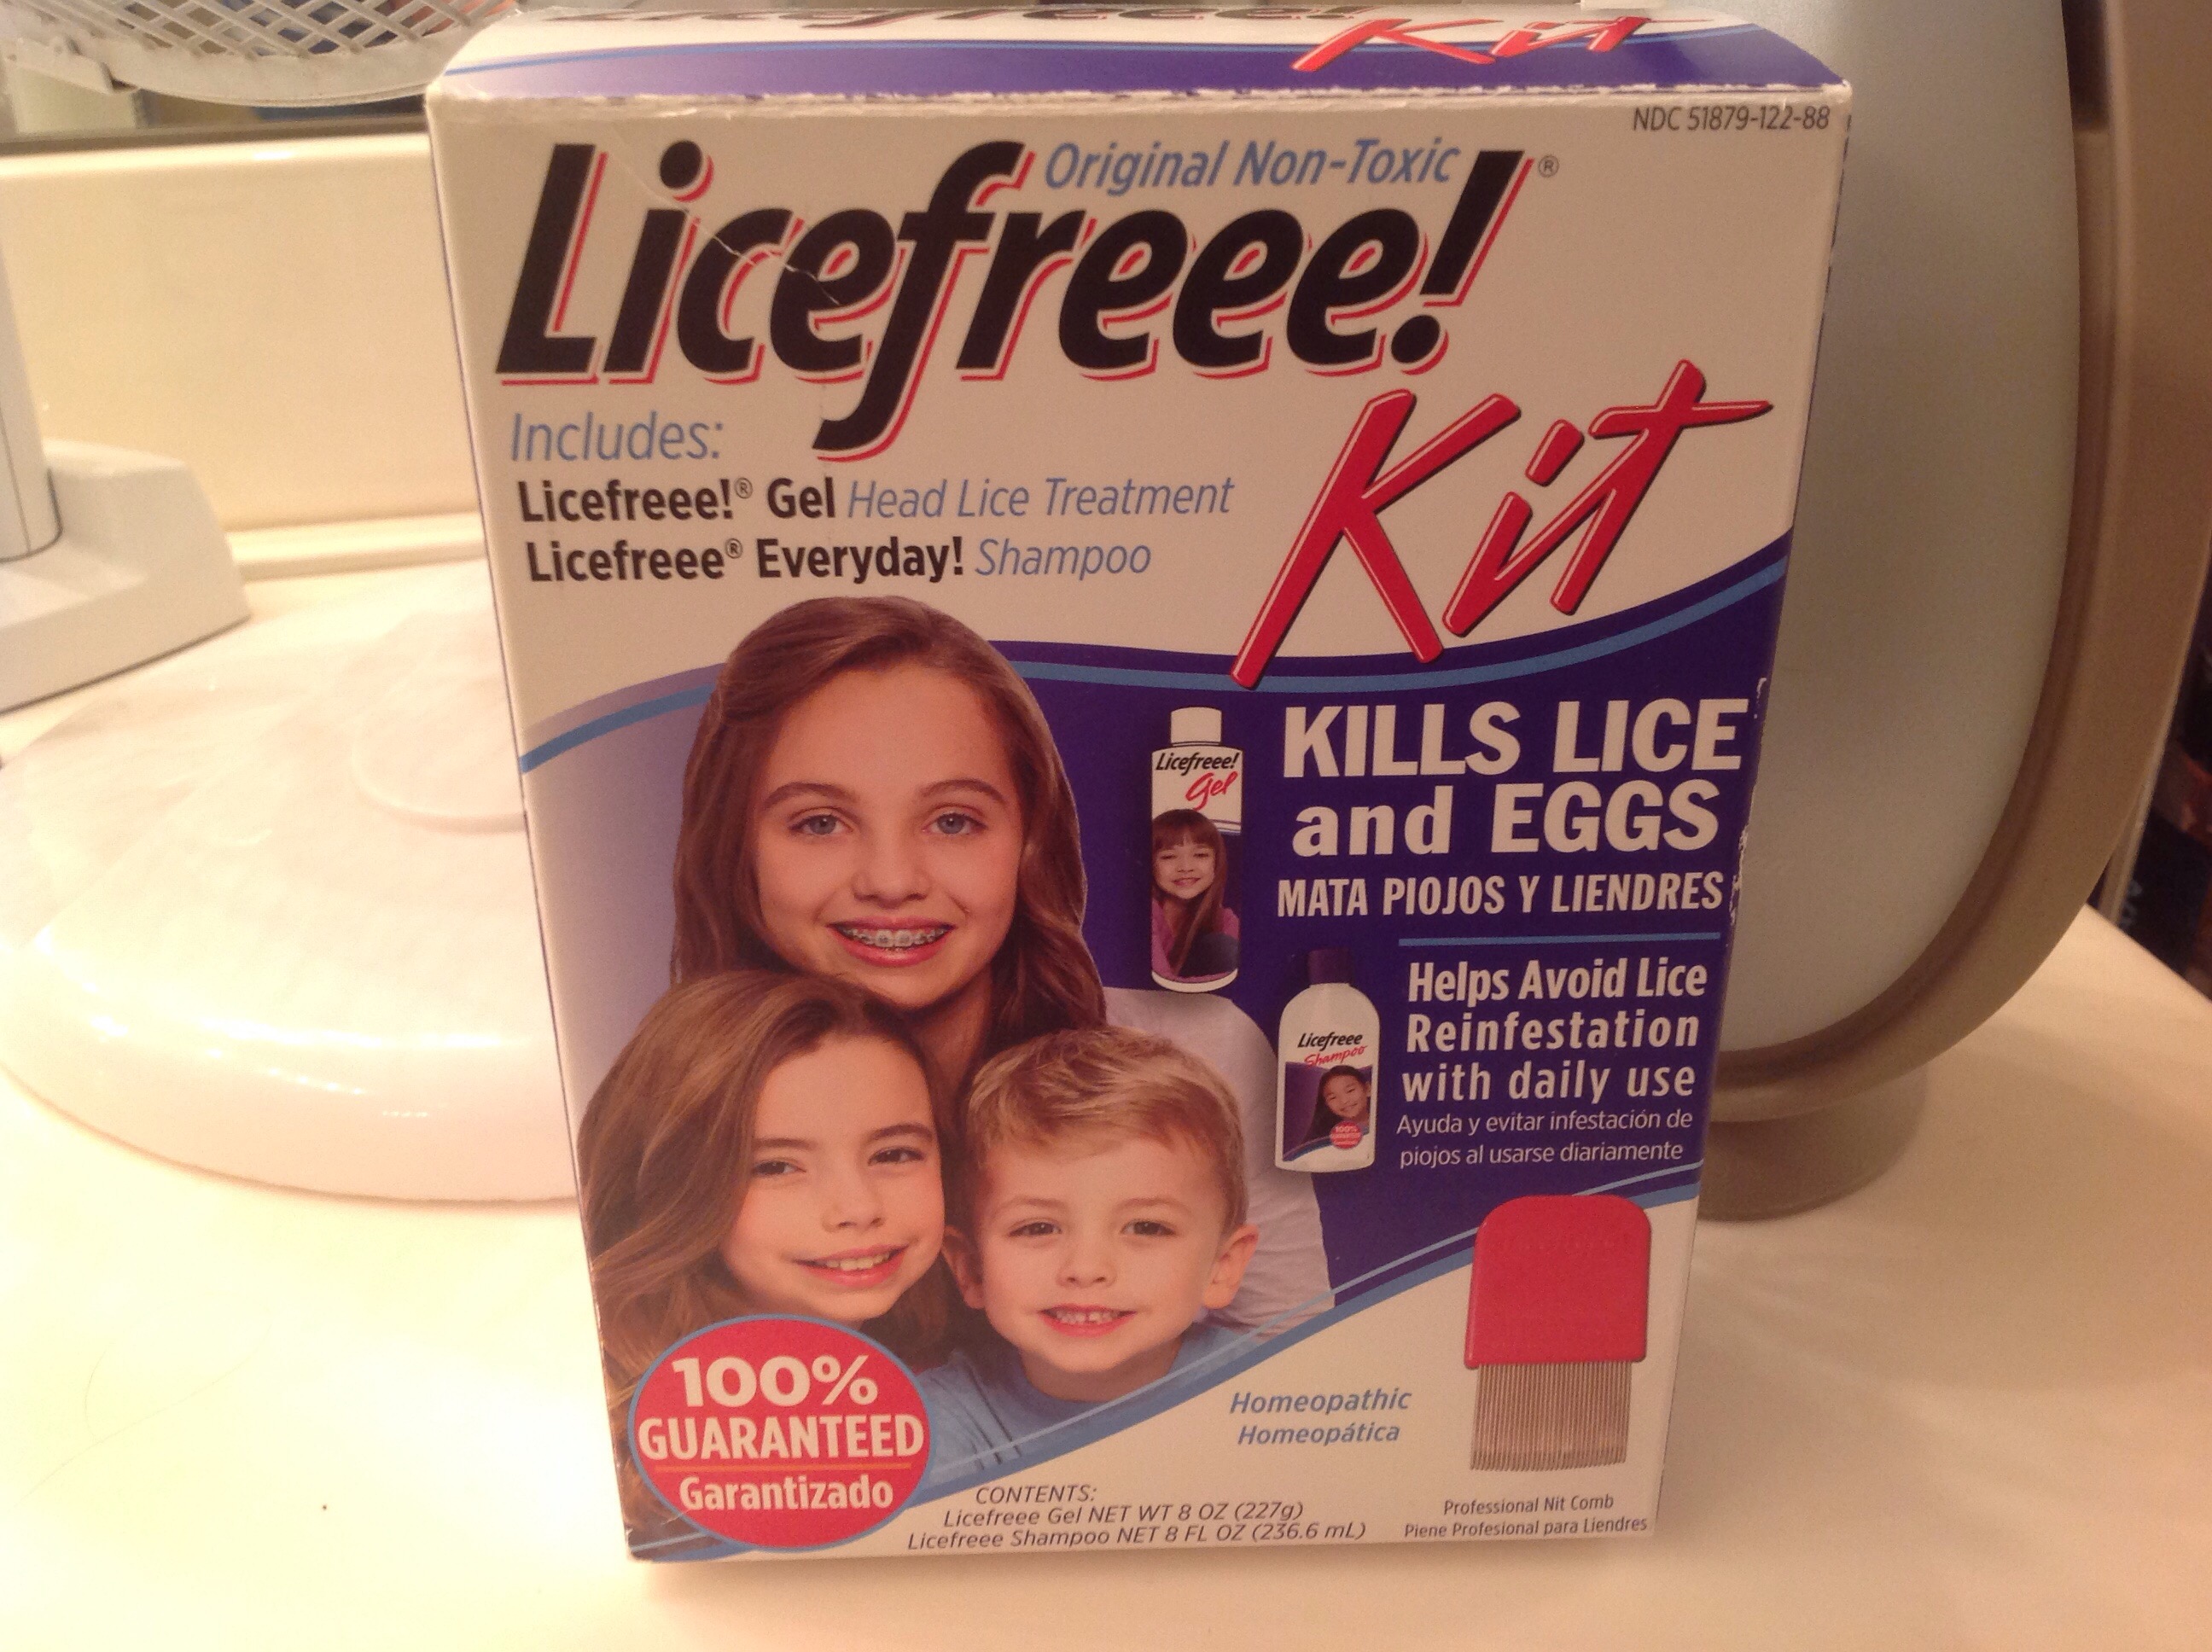
I ran in a panic to the nearest Walgreens before they closed and purchased several of their homeopathic lice kits. I have always been more than a little concerned about the heavy chemicals and pesticides in more traditional lice kits. My oldest has demonstrated severe topical allergies to many chemicals and even essential oils. So I opted for a more homeopathic kit option for her. As the counter lady rang up my bill, my jaw dropped a little at the cost of these kits. $30 for a single treatment?! And from everything I read, even WITH the chemicals and pesticide kits, I’d still be looking at several treatments per head to completely eradicate them. Holy crap! That’s some serious cash!
So I left with my kits and a much lighter wallet but determined to use only one of them for my oldest daughter (who is extremely skin-sensitive to oils and pretty much everything chemical) and try the Essential Oils route with me and my younger daughter. I figured I’ve got the kits just in case but if I don’t need them, I’ll be super happy to return them to the store for a refund.
I arrived home at 11:15 and realized quickly that once started, I was looking at 6-9 hours to process all of our hair. So I sent everyone to bed and committed to initiating the process first thing in the morning. But the night would not go idly by…I began some copious researching. Did you know that Rosemary has actually been successful in completely killing lice on contact?! And Melaleuca, Clove and Eucalpytus have been successfully tested to repel the little buggers! I decided I could try treating with Essential Oils first for a fraction of the cost. If needed, I always had the kits. I talked to some very educated friends with direct experience using EO’s to treat lice and decided on my recipe of choice. Here’s the breakdown:
5 drops Rosemary…$0.30
5 drops Eucalyptus…$0.30
8 drops Melaleuca…$0.64
8 drops Peppermint…$0.64
5 drops Terrashield…$0.20
Enough Coconut Oil to fill a 2 ounce glass spray bottle …$0.10
One 2 oz spray bottle was good for about one treatment. So for about $2.18 vs. $30 per scalp treatment, it was definitely worth the attempt! Even if it required retreatment, essential oils would by far be the more inexpensive route to pursue.
My oldest daughter would be the “control” since I felt she needed to go the kit option to avoid any oil sensitivity issues.
DAY 2:
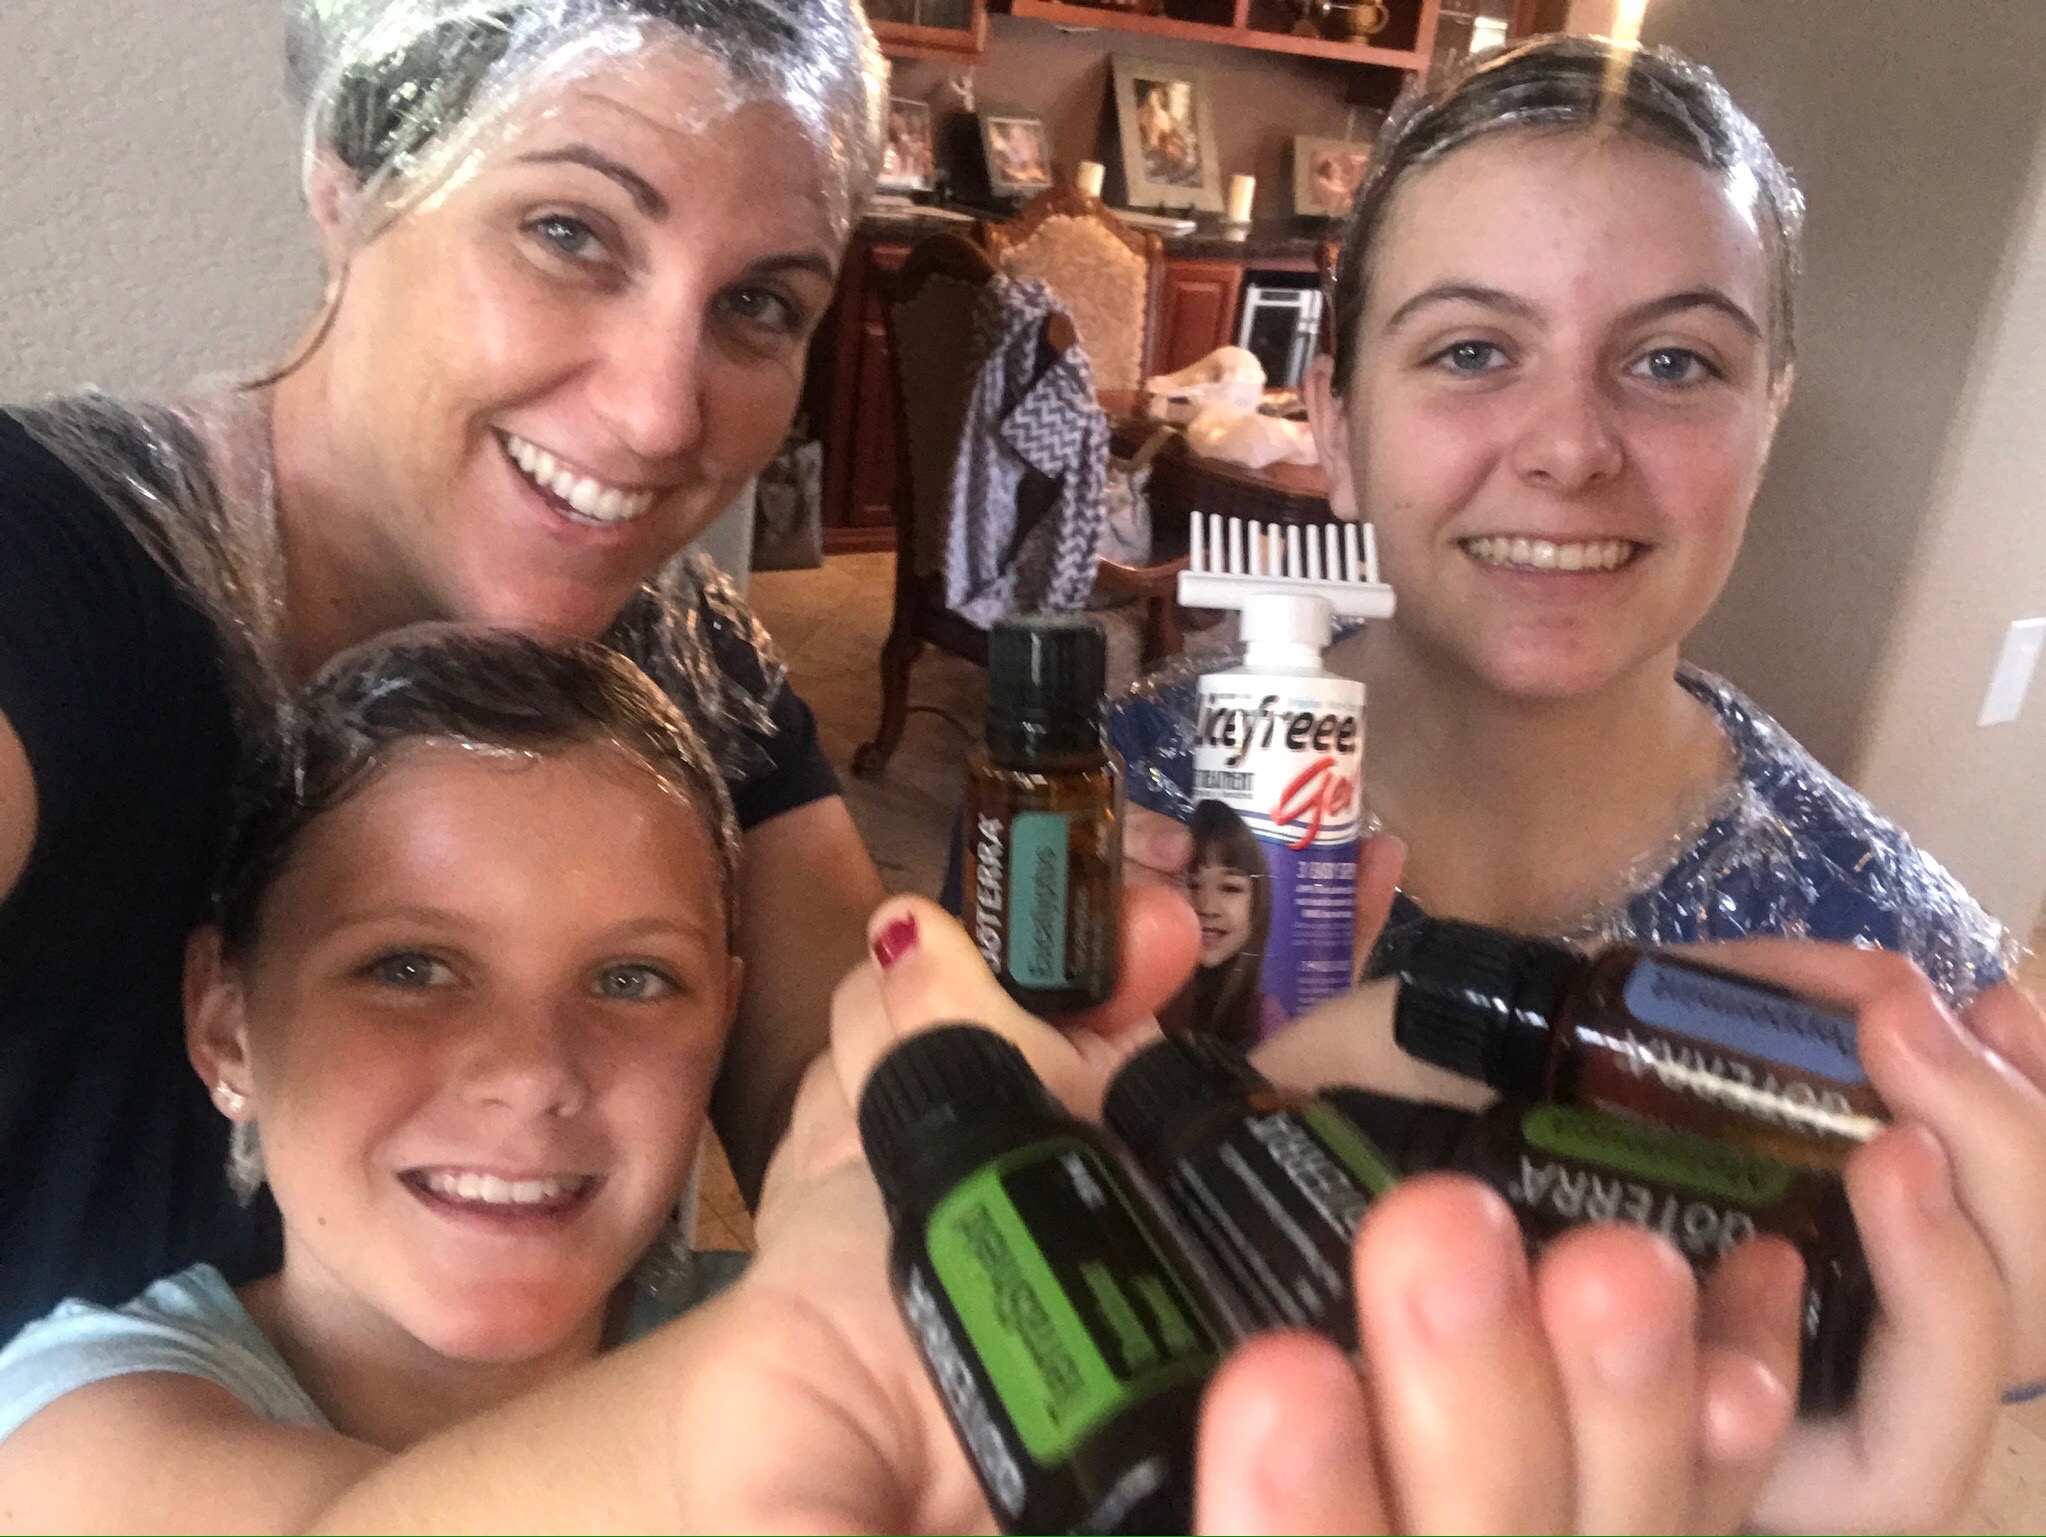
First things first. We took the lice kit “gel” and saturated my oldest daughters hair. The smell of the gel just about made me gag. It was a very thick, goopy gel that very quickly saturated her hair…I didn’t need to use the entire bottle, only about 3/4 of it. Then I made up the essential oil treatment in a glass spray bottle and saturated both mine and my younger daughters hair. Her hair is just past her ears and pretty thin. We each needed a full 2oz spray bottle to completely saturate our hair (mine is really thick and a little longer than shoulder length so I actually used my 2 oz dose and then about 1/4 of an additional spray bottle). My house smelled wonderful though after our application! So that was a nice side benefit of the oils. Then we wrapped our hair in plastic wrap and began the hour waiting game.
Talk about a mother/daughter fashion statement…don’t we look dashing?
The time was not wasted though. The next step was to gather all the stuffed animals, pillows, etc and throw them in plastic bags to “cook” in the garage for a few days. Then I took everything that was capable of being washed and that may have come into contact with any of us and began the ridiculously large laundry pile…everything was getting the hot water treatment followed by at least 30 minutes in the dryer on high heat. Lice can actually hold their breath for over 8 hours in water. But heat is another story. Lice cannot survive without a host for more than a day. They hatch every 3-5 days so that’s why it’s so important to bag everything up and leave it in a hot attic or garage for a few days. This is also why you need to recheck hair every 3 days for a couple of weeks to make sure everything was eradicated. I was told retreatment in a week was advised.
When I started with the Nit comb on my youngest first, I was horrified to realize the extent of her infestation. But happily, the nits and lice were coming out with relative ease as I drew the nit comb through her oiled hair. As directed, i would wipe the nit comb on some Kleenex each time I pulled it through her hair, wiping off the removed nits and lice, then disposing of the Kleenex into a ziploc bag. The lice looked like little black “pepper flakes”. If you look very closely at the hair follicle, you can see the lice either on the scalp or perched about 1/2″ to 1/4″ away from the scalp directly on the hair shaft. The eggs were in about the same location and could be seen as tiny, white specs on the hair follicle. They are relatively hard and will actually “pop” if you squeeze them. The lice were almost impossible to spot on my daughters dark hair but very easily seen when we wiped the nit comb on the Kleenex.
My oldest daughter did not have nearly as much infestation to comb out. The gel was super messy and ridiculously smelly but I think it may have made the nits slide out a little easier than the EO application. My oldest son had the unfortunate duty of taking care of my comb-out as my husband was working all day. He found a few, but again, not nearly as many as my youngest daughter. He commented several times how easyily they were coming out though. All in all, we probably spent about 6-8 hours total working through our hair with a nit comb…just so you know what to expect on your time management. It was an easy 3 hours on my daughter with the biggest infestation.
We all then went and washed our hair out with the lice shampoo that came in my daughters kit. I took the spray I had used on me and my younger daughters hair and sprayed down all the rest of the family just to be safe. It makes your hair smell wonderful and super soft so no one really objected to the preventative treatment!
And can I just say, lice are so gross!!
DAY3 :
I revisited each of my kids hair with both the essential oil spray and my trusty nit comb. My oldest daughter just used the shampoo that came in her kit. It recommends shampooing with it every day for the next week to 10 days. I found a few more nits in my youngest daughters hair but no more live lice. My son found one hatched louse on me and a few more nits. Didn’t see anything more on my oldest daughter. Re-sprayed us all with the EO blend once again. The laundry efforts are ongoing…
Also had to boil our combs and brushes as well as hair ties we wanted to keep. Most of it I just threw away though. I was too grossed out and most of our brushes and combs were well beyond their prime anyway.
And yes, lice are STILL SO GROSS!!!
DAY 4:
My daughter is still using the shampoo that came in her kit. Continuing to treat everyone else’s hair with the essential oil spray. I don’t feel the need to completely saturate at this point. I’m just spraying it on the roots and working it through the hair. It’s a great hair and scalp conditioner!So at least there’s that little side benefit! I’m checking hair daily but so far, haven’t seen any more signs of lice. Fingers crossed we got ’em! I’m too grossed out to do much with my hair so I just spray it down, comb it out and pull it up for the day.
DAY 8:
Rechecked and continued to spray my EO recipe on each of our hair. I also added in DoTERRA’s Root to Tip Serum ($35 wholesale) as an additional preventative protocol for all of us. This serum has almost the same oils as my spray recipe but it’s a little less concentrated and much more light weight for daily wear. You only need a few drops. Wet your hair and then dab a few drops in different locations on the scalp and work it into the roots and out through the tips of the hair. Dry and style as per usual. Additional tip regarding lice…they don’t like heat! So feel free to blow dry, straighten, iron, etc. as desired!
Guess what we did today?? took back the other kits I bought because it looks like we don’t need em! Glad to have that money back!
DAY 9:
Didn’t want to completely wet and blow dry my hair today so I just dabbed a few drops of the Root to Tip Serum on my scalp (even on my dry hair) and just work it around the roots. Still feeling a little creepy crawly but my “lice checkers” assure me there’s nothing they can see in my hair anymore. I double check my girls and boys just to be thorough…still nothing to report. YAY!
DAY 10:
Still no lice! Started bringing in the toys from the garage. I think we’ve thoroughly fumigated them in the hot plastic bags…one little side benefit of the ridiculous arizona summers is there is plenty of heat to go around!. Finally caught up the wash…that was probably the most time consuming part of this whole adventure!
CONCLUSION:
Both the “Licefree” Kit and the Essential Oils seemed to do the trick at our house. Hoping we don’t have to worry about any reinfection. I will keep you posted though! My fellow lice survivors caution me against early celebration as it is not totally uncommon for a second infestation to crop up. But I am hoping we are done with the little buggers!
If you are looking to purchase your own essential oils, I encourage you to visit my site at http://www.mydoterra.com/theessentialhome and get started today! I can’t even tell you how empowering it is as a mom to be able to have some inexpensive options available to you to treat your own family. I am so excited to share these tools with you and I hope you will not hesitate to comment or message me with any questions on our little journey or how I can help you and your family have the same successes we have experienced with essential oils!
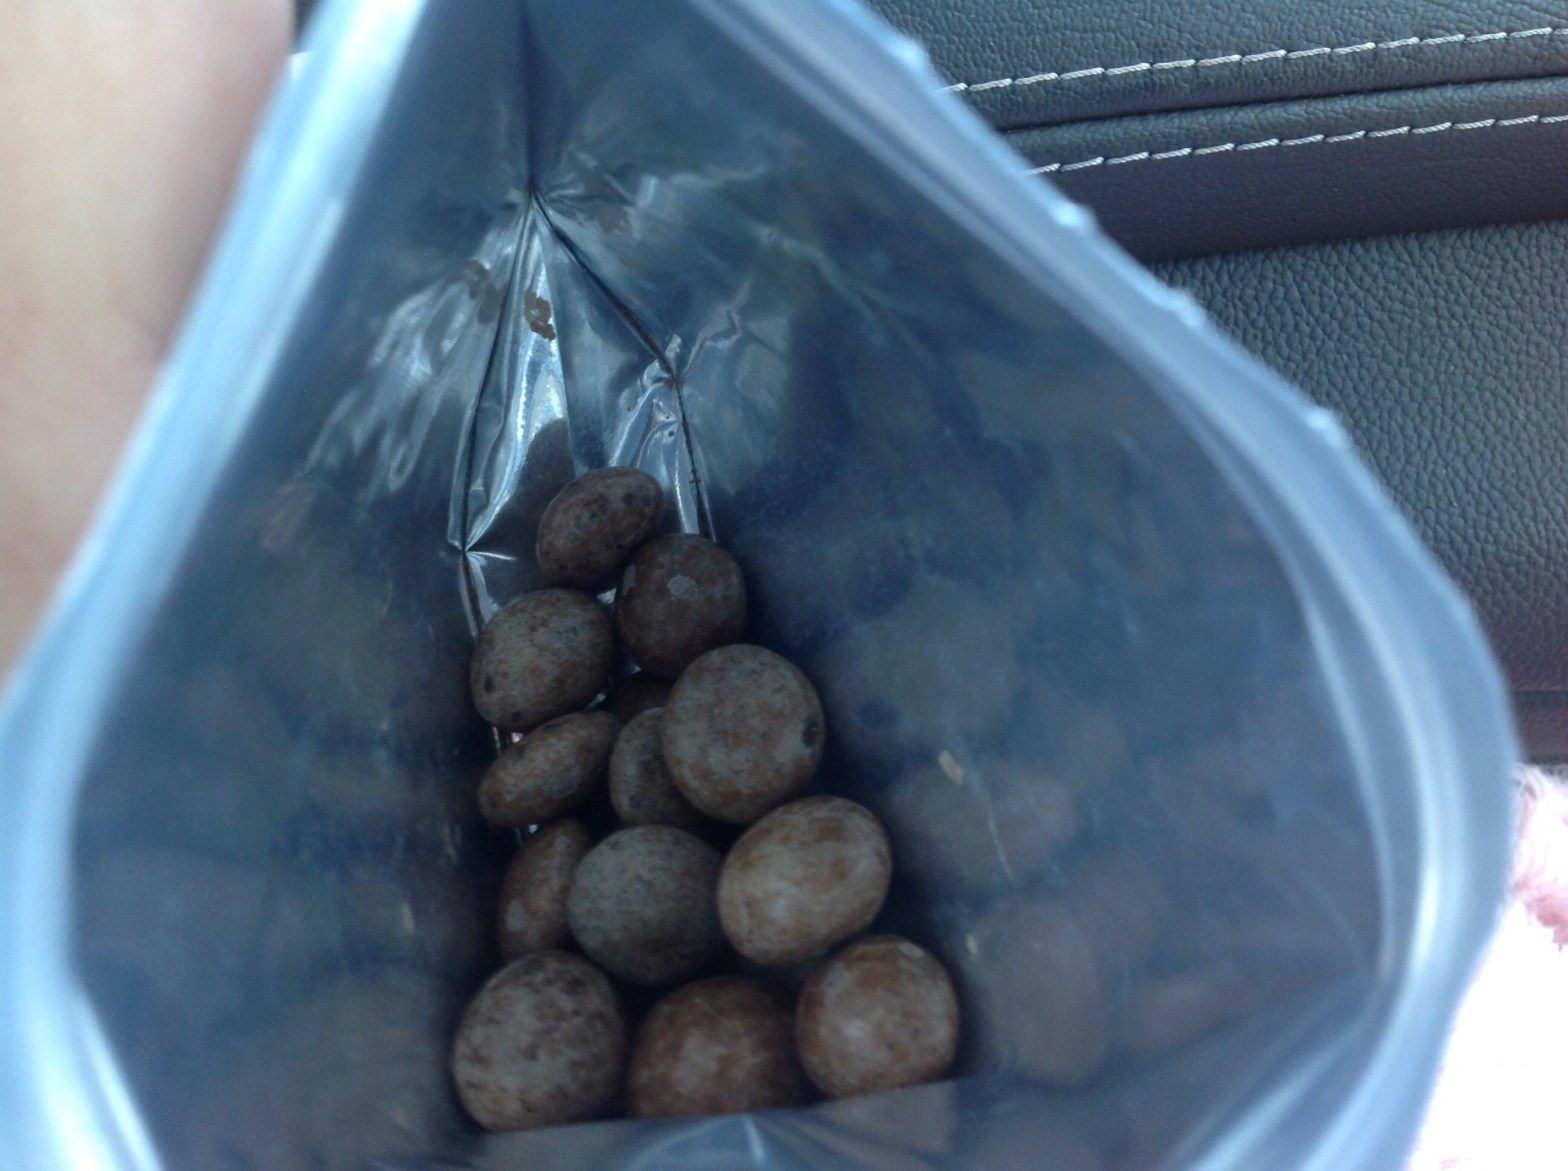
I am currently working hard to keep my food choices very healthy, non-processed and as organic and whole as possible. But through this challenge, I allow myself a “cheat” meal once a week that keeps me from going nuts! Recently, I reached for one of my favorite indulgences…chocolate covered blueberries! I purchased my bag of yumminess, salivating at the thought of the beautifully rich dark chocolate shining back at me from the silver packaging. Imagine my crushed expression and utter disappointment when I opened my little package in anticiapation of the dark chocolate-y goodness to discover there was nothing dark about it…my chocolate had turned tan and powdery! Anyone else run into this problem? I always assumed this tan powdery substance on chocolate indicated the chocolate was past its prime but as I checked the expiriation date on this particular bag, I released it was quite far from it! Loathe to throw away this coveted treat, I decided to do a little research first.
Contrary to my previous assumption, chocolate that has turned tan and powdery is not actually bad for you, though its taste and texture will not be what we expect from that dark chocolate richness and will definitely be less palatable. Believe it or not, this thief of sweetness has a name…It is actually called “bloom” and can happen as a result of one of two things: 1) moisture has somehow entered into the packaging (called “sugar bloom”) or 2) the chocolate has been exposed to extreme temperatures (called “fat bloom”).
Sugar bloom occurs when the sugar in the chocolate comes into contact with moisture. Because sugar contains crystals (usually so fine you don’t notice), they are very susceptible to moisture. Moisture causes the crystals to dissolve on the surface of your chocolate. As the moisture dries and evaporates, the dissolved sugar will re-crystallize and precipitate onto the surface of the chocolate. This process is what leaves the chocolate white, tan or dusty-looking.
Fat bloom is something we see a lot of in Arizona…no, I’m not talking about a propensity for over eating!…although our summers do tend to make it hard to stay active! Arizona is hot. VERY hot! 118 degrees hot! If chocolate is not transported carefully…lets say it sits on a truck in the afternoon heat at somewhere around 130 degrees before it gets dropped off to that 65 degree super market…it becomes soft or crumbly in texture and takes on that awful white-gray or tan appearance. Chocolate apparently does not like dramatic changes in temperature!
So now you know! As I stare down at what I thought was going to be a wonderful little indulgence at the end of my weekend, I now have to decide whether to choke down this ghostly version of my once coveted treat or give it a proper uneaten sendoff to the nearest waste basket? Well….what would YOU do?